DailyPi tutorial: display tasks, events and weather 🗓️
The code for DailyPi is available here on GitHub.
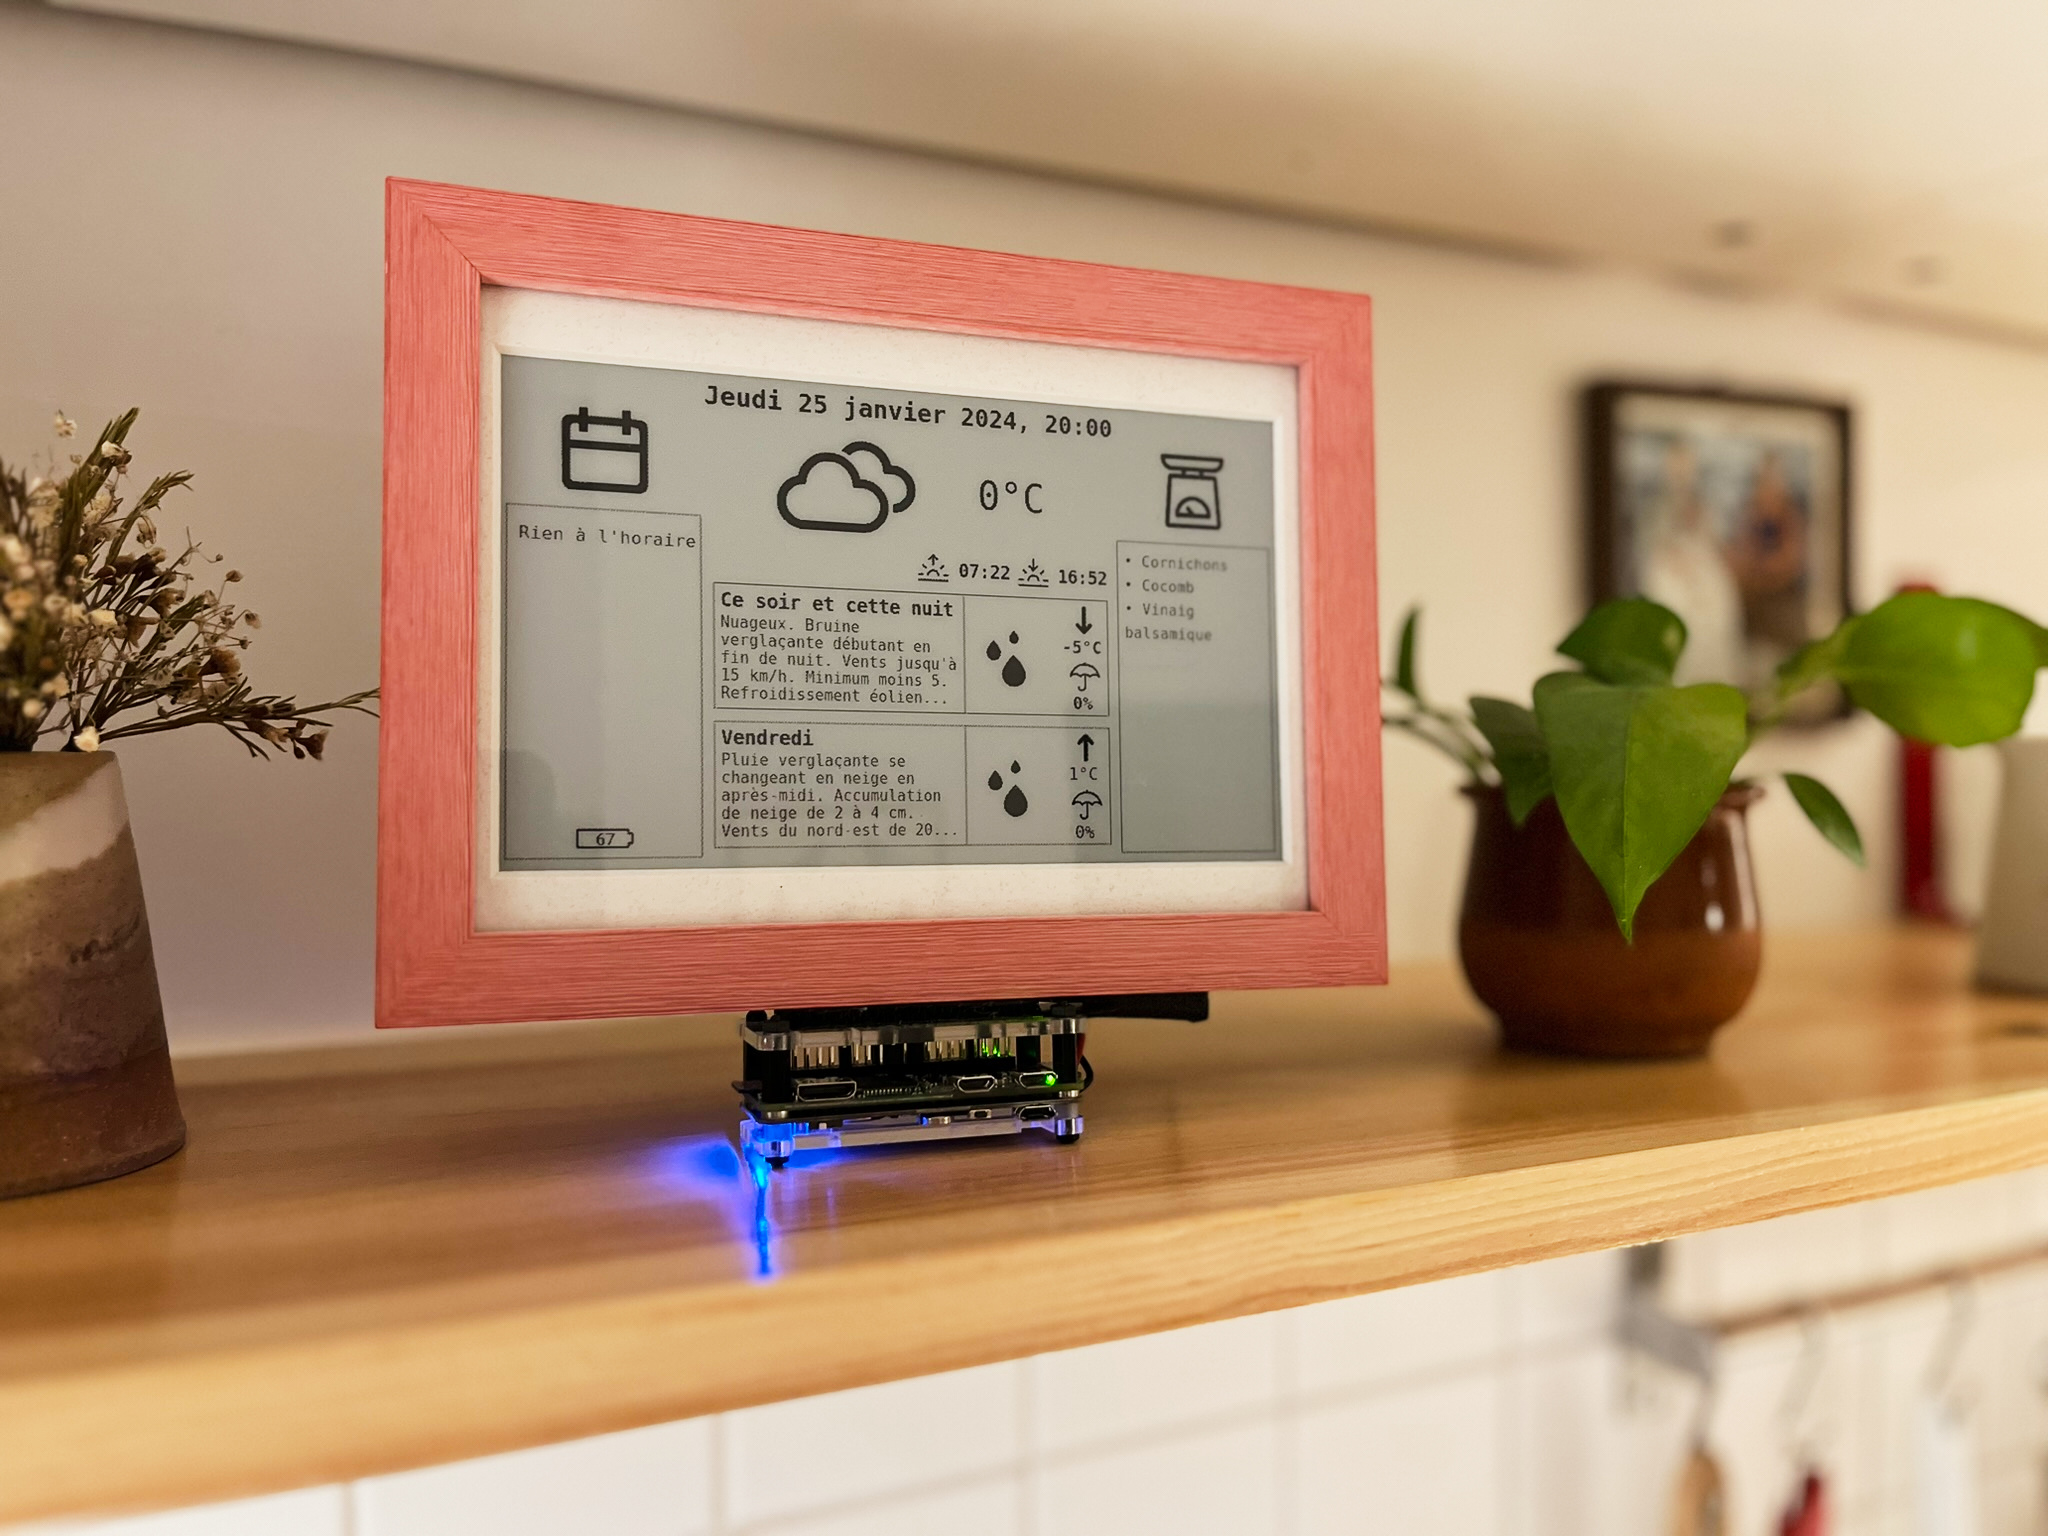
DailyPi is a simple e-paper dashboard that lists daily events, tasks and weather.
All data is prepared for display through a python app using the flask web framework. This web service ouputs a black and white PNG image that matches the resolution of the e-paper screen.
To make development easier, I run the app on Google Cloud Run. A Raspberry Pi Zero W connected to a Waveshare 7.5 in e-ink screen picks up the dashboard image for display.
Data comes from three sources :
- Google tasks, for the grocery list (via an authenticated API call)
- Google calendar, for all events (via an authenticated API call)
- Environment Canada, through the env_canada library
Code layout
All server code is located in the “server” subfolder of the repo, while the device code is found in the “screen” subfolder.
- Server
-
main.py: Where the main Flask app file lives. -
env.example: A template to create your own .env file, used to store all environment variables used in the app. -
Dockerfile: Used to build the docker image that will be deployed to Cloud Run. -
display_functions.py: Various helper functions -
get_weather.py: Pulls weather data -
gmail_connector.py: Pulls an image to display from Gmail (you don’t need this script - it’s a feature borrowed from my other project, DispatchPi, which isn’t used in this project yet) -
eink_image.py: Converts an image pulled from Gmail for display on the e-ink screen -
google_calendar.py: Fetches events from Google Calendar -
google_tasks.py: Gets tasks from Google Tasks -
requirements.txt: Lists all python libraries required to run the app -
svg_template.svg: The SVG template used to generate the dashboard image. -
svg_updater.py: Updates the SVG template with the latest data from all APIs
-
- Screen
-
display.py: Contains the code to pull the PNG image from a fixed URL and display it on the e-ink screen -
image_transform_local.py: In case the app cannot pull the PNG dashboard image from the URL, this script will display a local image instead. -
alarm.sh: Bash script to schedule the next wakeup time for the PiSugar2 RTC (real-time clock) module -
display.sh: Bash script to execute a bunch of steps : sync the Pi’s clock, schedule the next wake-up alarm and run the display.py script -
pics/: Place local images here for random display if the app cannot pull the PNG dashboard from the URL
-
Customization
Some adaptation may be required to convert the local code to another Raspberry Pi board or e-paper screen. The dashboard itself is pretty modular, as the SVG template can be adapted to fit other screen formats or to display information differently. I recommend using BoxySVG to modify the file to keep all custom class names.
The SVG file serves as the graphical canvas for the dashboard. Since a SVG file can be written as code, it means we can create placeholder text variables that are swapped out for accurate information upon data refreshes.
Preparations
You first need to configure a few things in Google Cloud to be able to communicate with all the services you will need
- Set up a new project in GCP with billing enabled
- Activate the following APIs :
- Google Calendar API
- Google Tasks API
- Gmail API
- Google Cloud Build API
- Google Cloud Run API
- Google Cloud Secrets Manager API
- Create OAuth credentials
- You can follow the instructions here for generating a json client secrets file with the proper authorizations.
- Store this .json file in a handy location - you will need it soon.
- Make sure to add the authorized redirect URLs under the credentials, sub-menu, as described here
You can also create a new Gmail account if you want the calendar and tasks to live in a separate account from your personal email.
Local prep
- Open your IDE (I’m using VSCode)
- Clone the repo and head to its folder
- Optionally, create a new virtual environment and install all requirements with
pip install -r server/requirements.txt - Create a new file named
.envin the server/ subfolder. You can use the.env.examplefile as a template.- Populate the CLIENT_SECRETS_FILE variable with the whole string contained in the json file you downloaded earlier
- Add your own coordinates for the weather forecast
- Add the email address you want to use for the calendar
- Generate a random string to server as the Flask key, which is used to encrypt the session cookies
- TOKEN_GMAIL, TOKEN_GTASKS and TOKEN_GCALENDAR will be created later from the app’s home page.
A note about authentication
The CLIENT_SECRETS_FILE and each individual TOKEN_FILE serve different purposes for OAuth 2.0 authentication:
CLIENT_SECRETS_FILE: This file contains the OAuth 2.0 credentials for your application, including the client ID and client secret. These values are used to identify your application when it makes requests to the OAuth 2.0 server. You obtain these values when you register your application on GCP using the steps listed above.
TOKEN_FILE: This file contains the access and refresh tokens that your application receives from the OAuth 2.0 server. The access token is used to authenticate API requests on behalf of the user. The refresh token is used to obtain a new access token when the current one expires.
In summary, the CLIENT_SECRETS_FILE is used to identify your application to the OAuth 2.0 server, and the TOKEN_FILE is used to authenticate API requests on behalf of the user.
Test the app locally
- Spin up the Flask app with
python server/main.py- The terminal will indicate which URL you should head to - typically, it’s
http://localhost:8080
- The terminal will indicate which URL you should head to - typically, it’s

- The homepage should look like this :
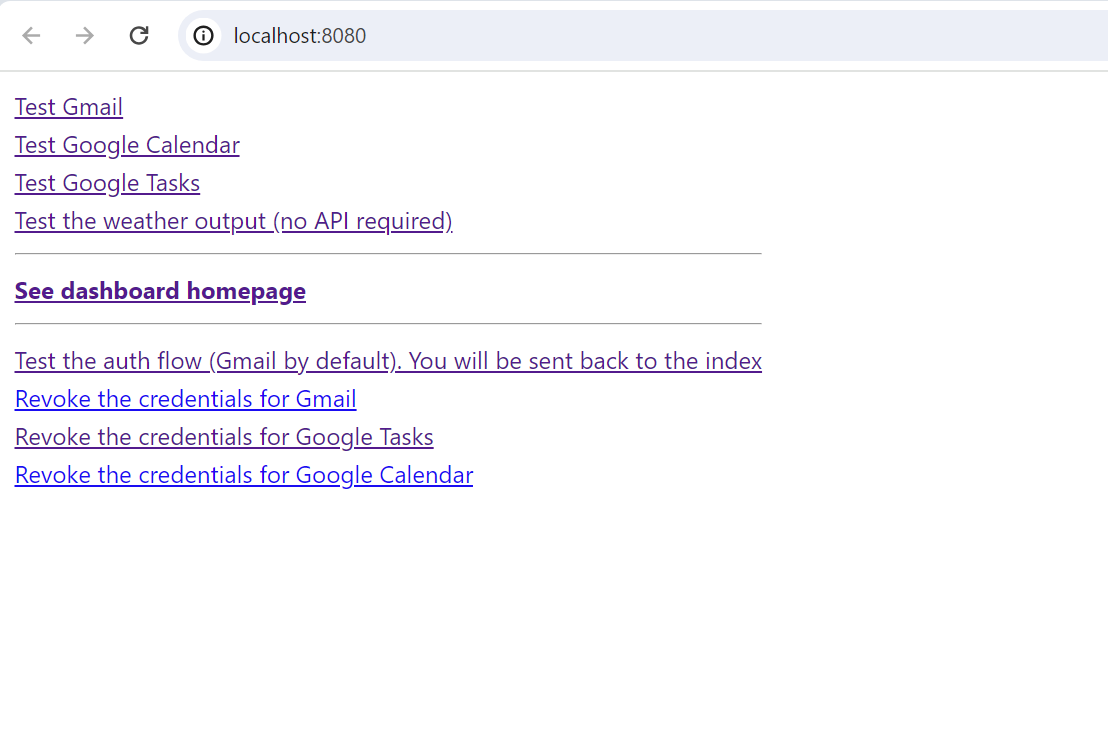
- Click on “test the weather output” to check that you’re able to obtain weather information properly - it’ll display as a messy string.
You now need to generate the access tokens for Google Tasks and Google Calendar (let’s leave Gmail aside for now as the dasbhoard doesn’t use it.)
Choose the “Test Google Calendar” link to go through the whole authorization flow, to connect your project Gmail account to your GCP application
- Log in to your Gmail account
- Authorize the app to access your Google Calendar
- You will be redirected to a page that will display the access token - copy it.
- Paste it in your .env file, under GCALENDAR_TOKEN.
-
You can go through the same sames for the “Test Google Tasks” link on the homepage of the app.
- You now need to figure out which task list ID and which calendar ID you want to call. There are lines of code you can uncomment in the main.py file to uncover this and print the output to the console :
-
Google_tasks.get_lists()around line 138 -
google_calendar.get_calendars_list()around line 194 - Add the values to the .env file
-
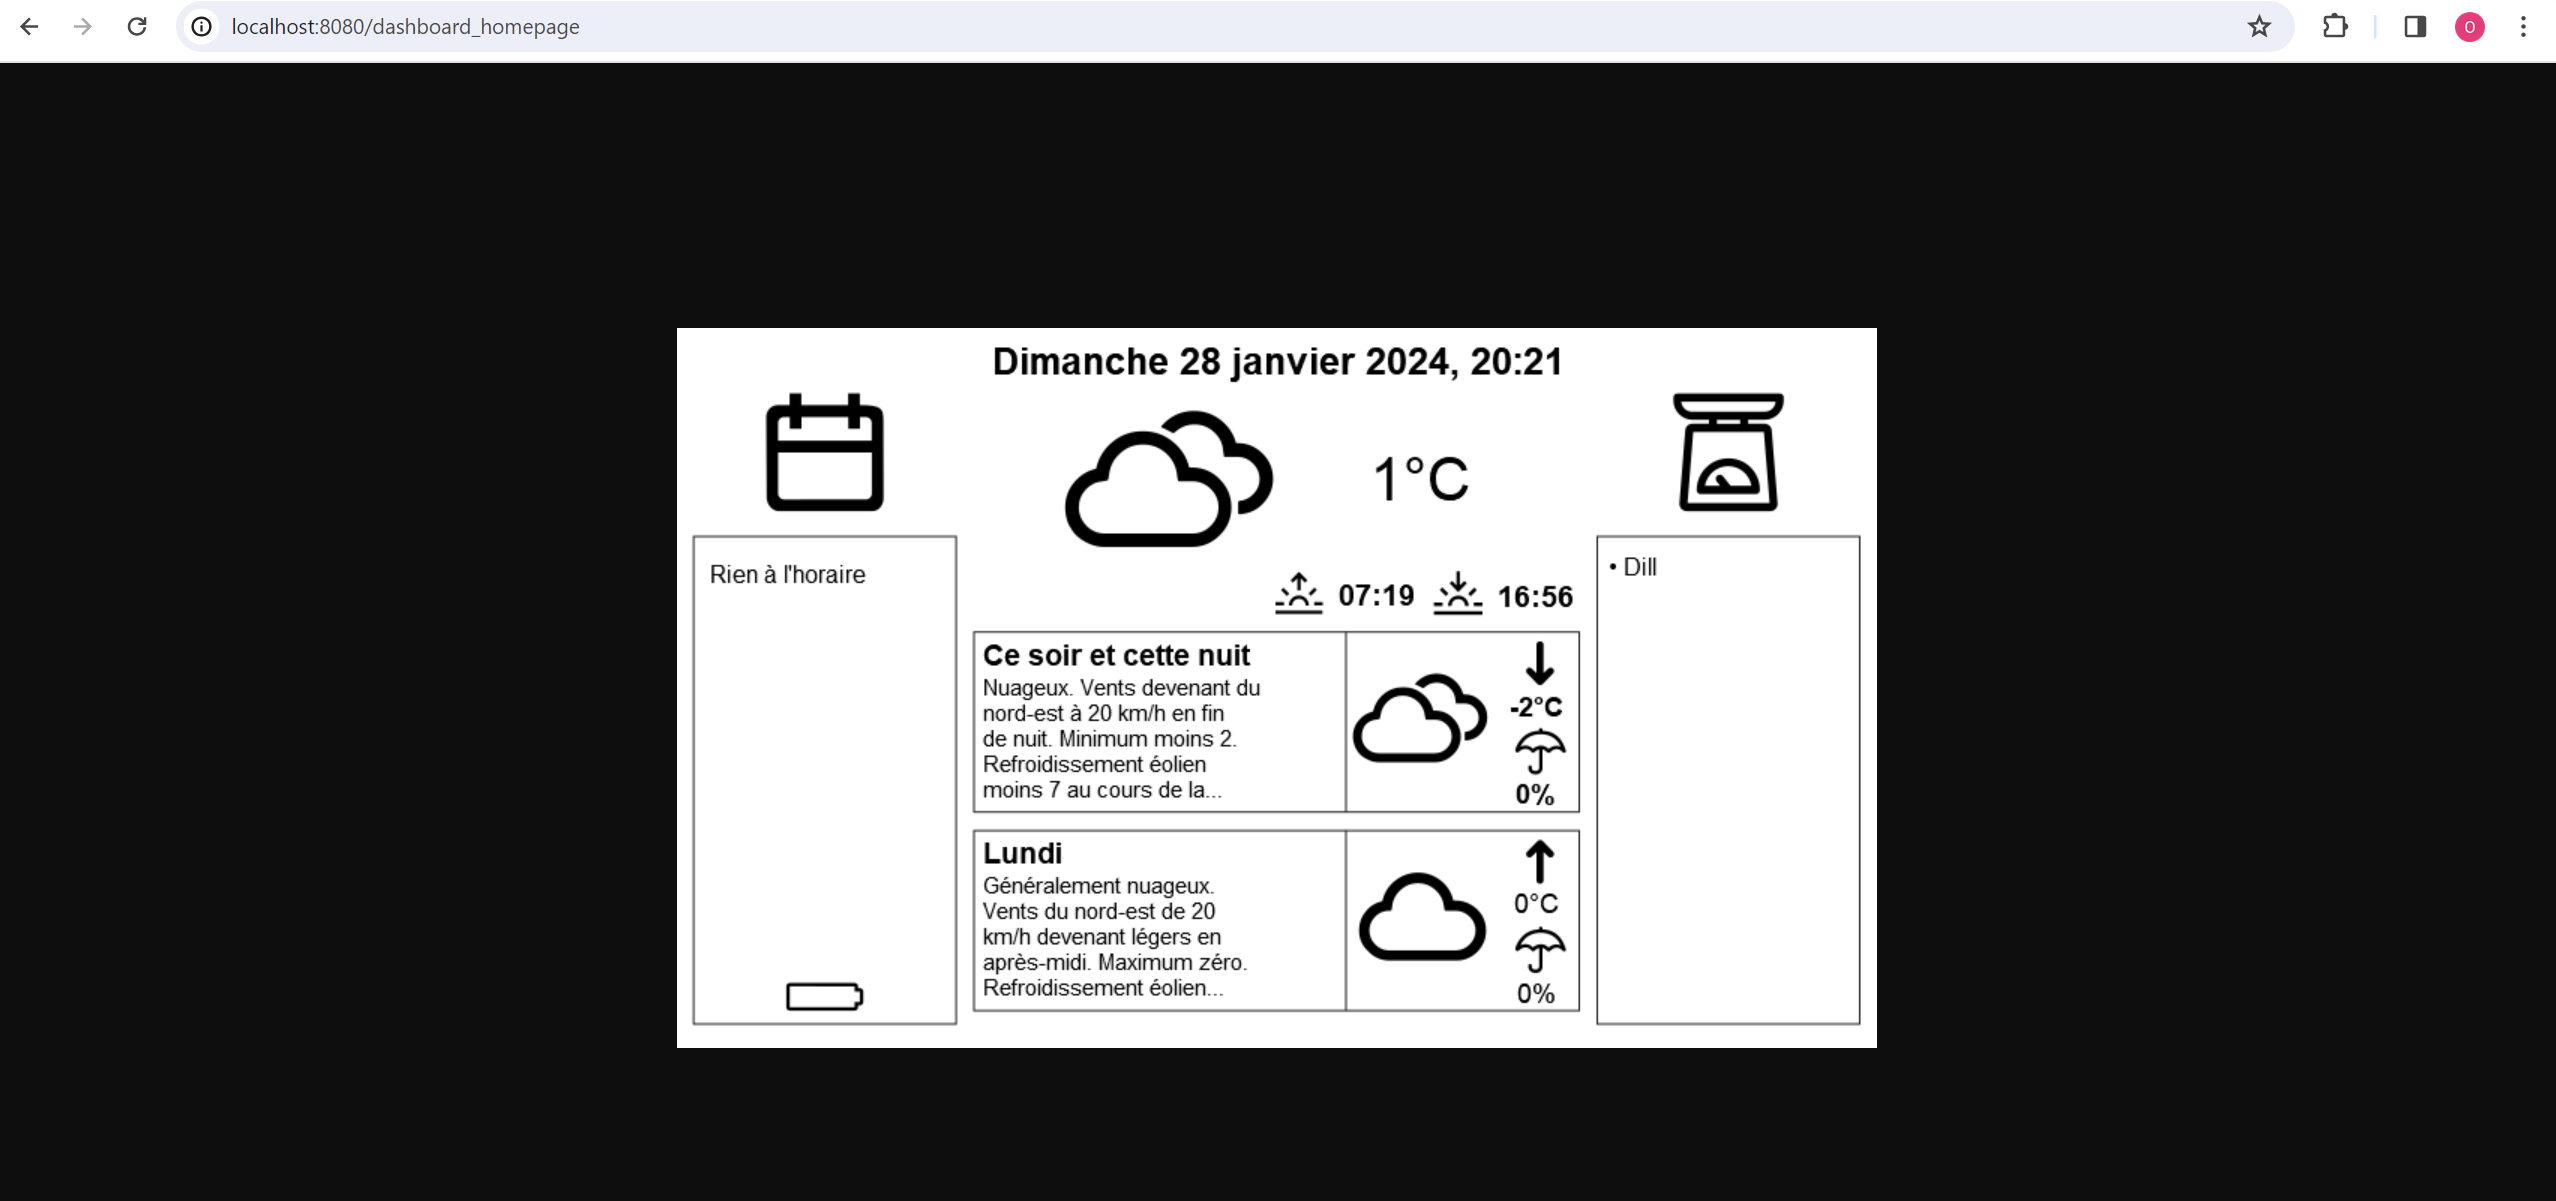
- You app should now be fully functional. Clickin on “See dashboard homepage” should lead you to a PNG image that looks like this :
Deploy easily on Cloud Run
To simplify the app’s web development, I’m using continuous deployment from the Github repo to Google Cloud Platform’s Cloud Run service. This means each time I push a code change to the repo, Github notifies Cloud Build of the update, which then repackages an updated docker image and uses it to refresh the Cloud Run server. This is a huge timesaver, since it avoids fiddling with GCP’s command line interface each time you want to update your web app.
Below are the main steps required to port your local app to a Cloud Run URL through the GCP interface. If you’d prefer doing it through the CLI, I outlined the code here in the dailypi/tutorial.
Once you’re connected to GCP, navigate to the Cloud Run service, then choose “Create Service”. Instead of deploying from a container registry, pick “Continuously deploy new revisions from a source repository” and go through the options to connect your Github repo.
For CPU allocation, to reduce costs, choose “CPU is only allocated during request processing”, which means the app will only run when it’s hit with a request. Also pick the option with no authentication, so that your Raspberry Pi can call the app’s URL directly. Auth could be useful here, but Cloud Run apps should not normally be indexed by search engines, unless they are referenced elsewhere. If you keep it to yourself, your URL should remain private.
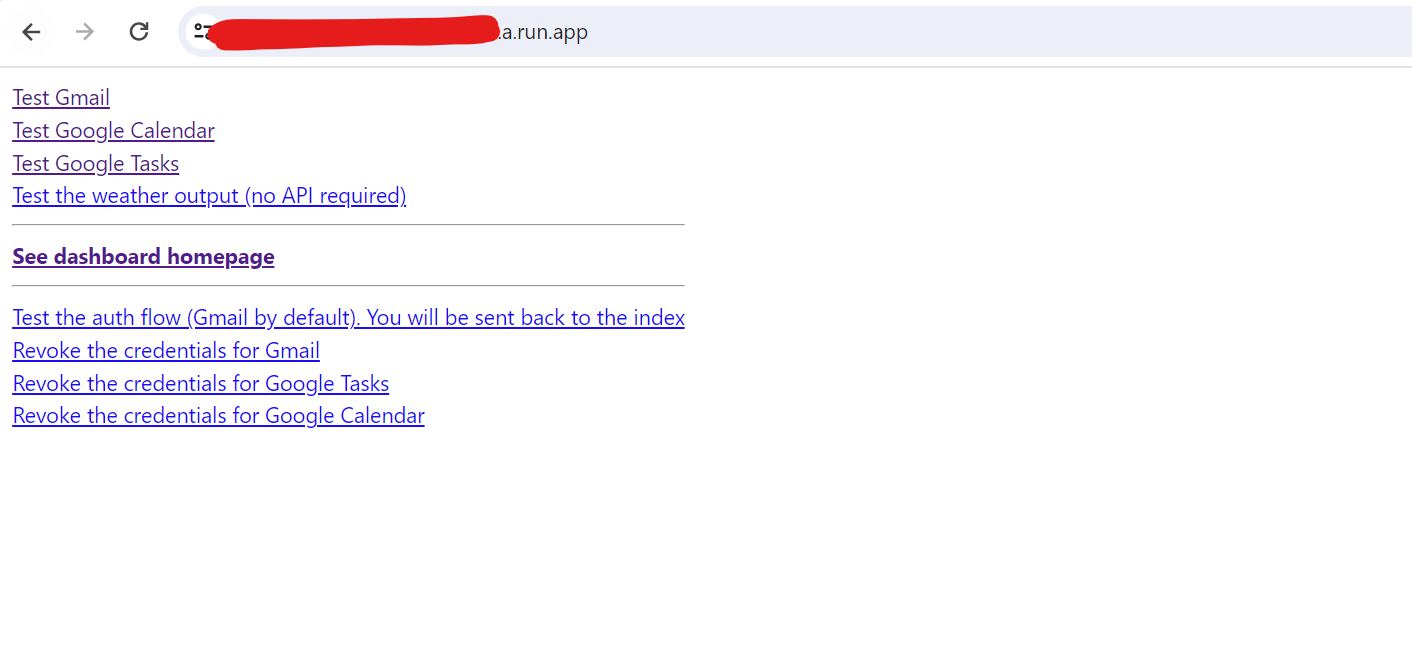
Finally, click on the create button and wait for your page to be provisioned. Make sure to also copy your app’s URL to the list of your authorized redirect URLs in the “credentials” sub-menu of your GCP project.
There is a handy tutorial here for connecting Cloud Run and Github with additional information.
Add secrets and environment variables
Before you can expect everything to work as expected, you need to add all of the environment variables to the Cloud Run service.
Head over to your app, click on “Edit and deploy new revision”, then “Variables and secrets”. Use the text fields to add all the .env variables that are NOT tokens. Click “deploy” otherwise your changes won’t save.
For the secrets, you need to open the Google service called “secrets manager” (use the search bar at the top). Click on “Create secret”, then enter the strings for each token one by one.
Once that’s done, you need to give your project service account access to the secrets. Head over to the IAM service, then next to the service account email (….compute@developer.gserviceaccount.com), click on the pencil icon to edit the permissions. Add the “Secret Manager Secret Accessor” role.
Go back to your app’s environment variables, and reference each secret in turn.


That’s it! Your app should now work successfully on Cloud Run
Testing the app on the Raspberry Pi
- There are detailed setup instructions outlined in the dailypi tutorial if you aren’t familiar with the steps below
- Set up the Raspberry Pi Lite OS on the microSD card
- SSH into the Pi via FileZilla
- Create a virtual environment
- Load the scripts located in the “screen” subfolder of the repo on the Raspberry Pi via an FTP client such as Filezilla
- Install the required python libraries for the script and the Waveshare screen
- Connect the screen to the Pi’s GPIO pins - I used the pin correspondence on Waveshare’s website here. Note that some 7.5 boards are shipping with a new HAT version, rev 2.3, that has 9 pins instead of 8. The pinout chart has been updated to reflect the new PWR pin. It looks like the demo Waveshare code has been modified to reflect this new addition. If you have this new board, you should pikc up new epd7in5_V2 and epdconfig.py files from the official Waveshare Github repo..
- There is also some discussion about wiring issues on the Arduino forums here and here for ESP32 boards.
- Test the app script manually through the terminal with “python …/APP_LOCATION/display.py”
- The image refresh process should take a few seconds : after a bit of flickering, the screen will display the dashboard image
- You can then either setup a cron job to run the display.py script at regular intervals, or if you have the PiSugar2 battery, use the provided wake-up script to power down and wake up the Pi at regular intervals.
Cron job
To run scripts at regular intervals, you can create something called a cron job, which is a job scheduler for the OS.
First, make your shell scripts executable by running this on the Pi:
chmod +x /home/osher/.dashboard_pi_env/screen/alarm.sh
chmod +x /home/osher/.dashboard_pi_env/screen/display.sh
Then open the crontab file with sudo crontab -e and add the following line to the end of the file: @reboot /path/to/script.sh "/path/to/env_folder_with_python_and_scripts" >> /path/to/logfile.log 2>&1
Be sure to modify the paths above as needed. In my case, this was my full path: @reboot /home/osher/.dashboard_pi_env/screen/display.sh "/home/osher/.dashboard_pi_env" >> /home/osher/journal.log 2>&1
The @reboot directive runs the script as soon as the Pi boots up. The display.sh script will sync the Pi’s clock to the PiSugar’s RTC clock, then schedule the next wake-up alarm (via the alarm.sh script) and then run the display.py script to refresh the screen.
When debugging reboots, you might need to interrupt a planned shutdown - that can be done with sudo shutdown -c
Notes
- Browsers render SVG text differently - Edge seems to give a good idea of the final SVG render on Cloud Run.
- Changing the font is tricky within native SVG code. My attempts weren’t successful, which is why I opted for a monospace font.
- It’s very important not to commit the .env file to a public repo, as it contains all of your access tokens.
- Edit the scripts as you see fit to change the language of the dashboard, or to add/remove fields - most of these will be in the svg template file.
- In an attempt to gain extra battery life, I disabled bluetooth on the Pi. See here for more info
- You could also play with the number of daily wakes, and the length of each wake.
- Having errors while transferring files to the Pi with FileZilla? Make sure you’re expanding the Pi OS file system to the full size of the microSD card
- Better battery life could undoubtedly be achieved with a Pico W or an ESP32, but that’s a project for another day…