DispatchPi part 2: host your app online 🌐
Prepare your environment
Connect to your GCP project and click on the Cloud Shell icon in the top right. Authorize the app to use Cloud Shell and click through any introduction screens until you see the shell.

In the shell, run this command to confirm you are authenticated:
gcloud auth list
Use this command to make sure the cloud shell knows your project id :
gcloud config list project
Next, we will set some environment variables to facilitate deployment (customize the region as needed)
export PROJ=$GOOGLE_CLOUD_PROJECT
export APP=dispatchpi
export PORT=8080
export REGION="northamerica-northeast1"
export TAG="gcr.io/$PROJ/$APP"
We will also activate some Cloud APIs
gcloud services enable cloudbuild.googleapis.com containerregistry.googleapis.com run.googleapis.com
After a moment, you should see a success message in the console.
Upload files to the cloud
Click on open editor on the console, which will open an interactive interface resembling VSCode.
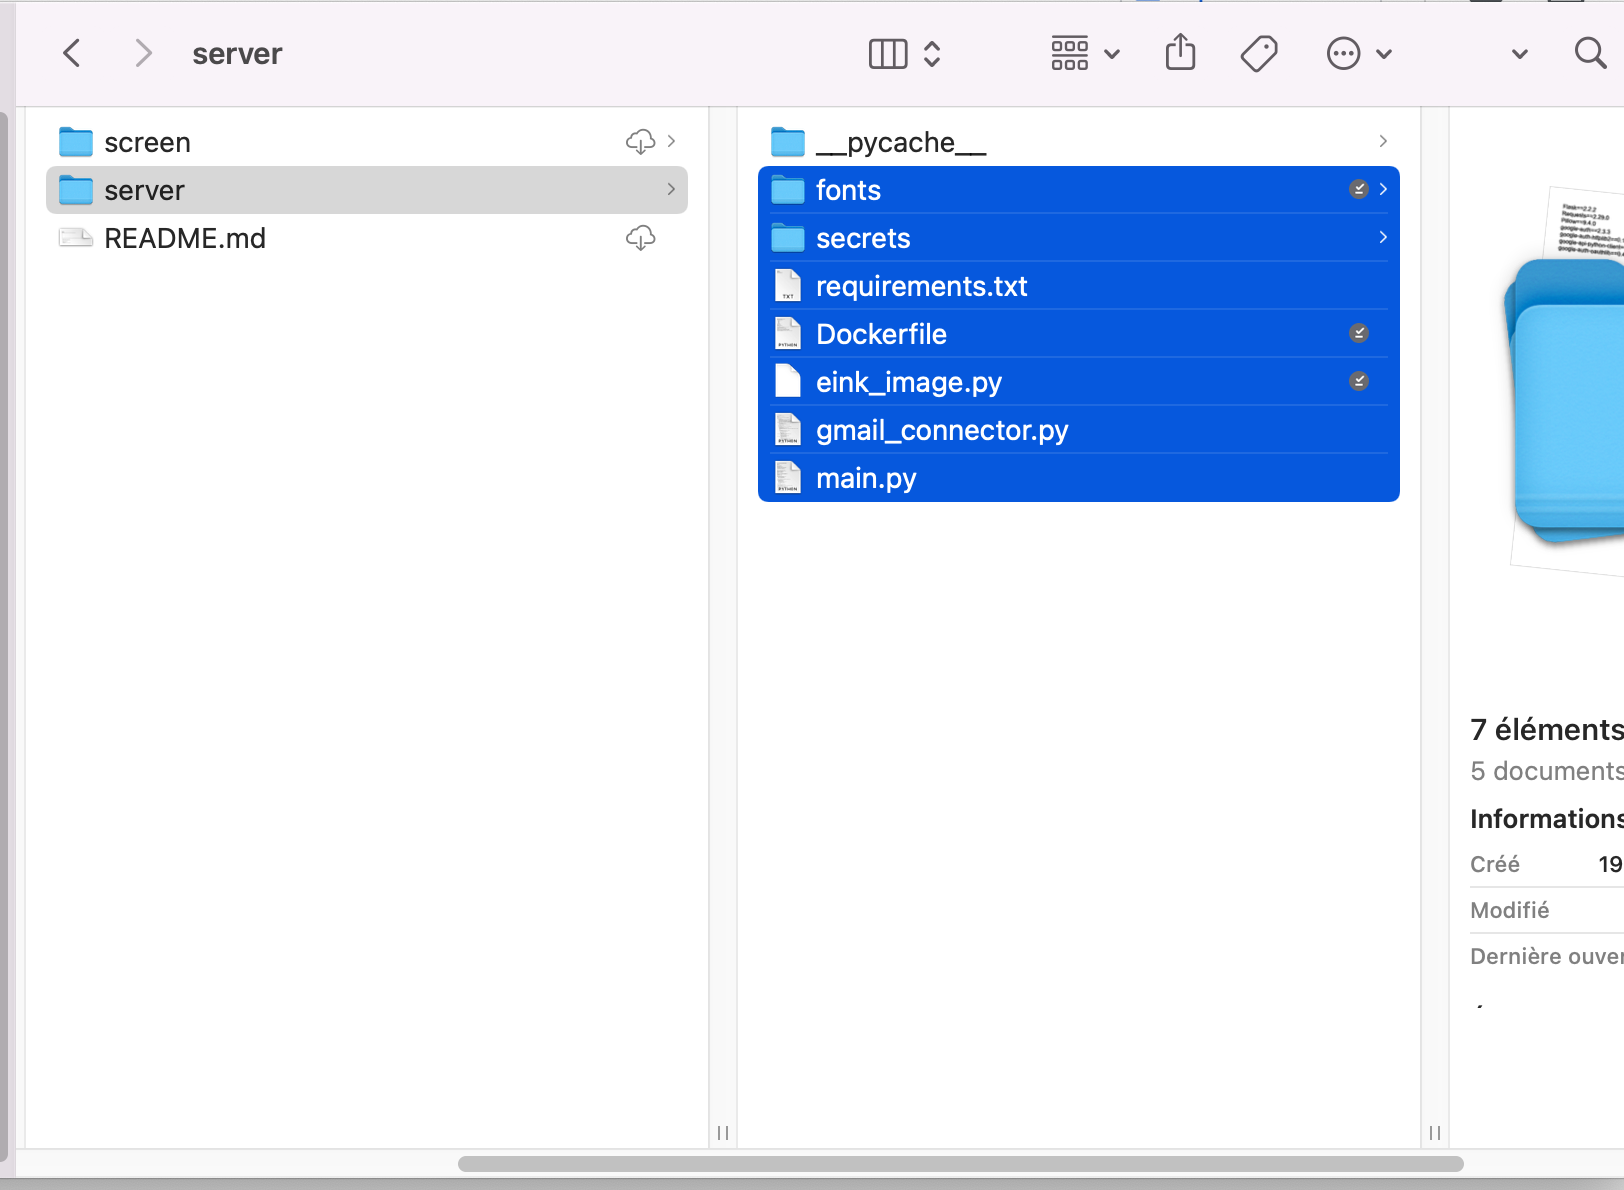
On the left hand-side menu, create a new folder, which we will name dispatchpi.
In this folder, drag and drop all of your app files from the /server subfolder. Make sure they are all stored in the root of the same subfolder.
Now, go back to the terminal by clicking “open terminal”.
Tell the console to navigate to your new folder with this command
cd dispatchpi
Test your requirements.txt file by running :
pip3 install -r requirements.txt
And finally, test your app by running:
python3 main.py
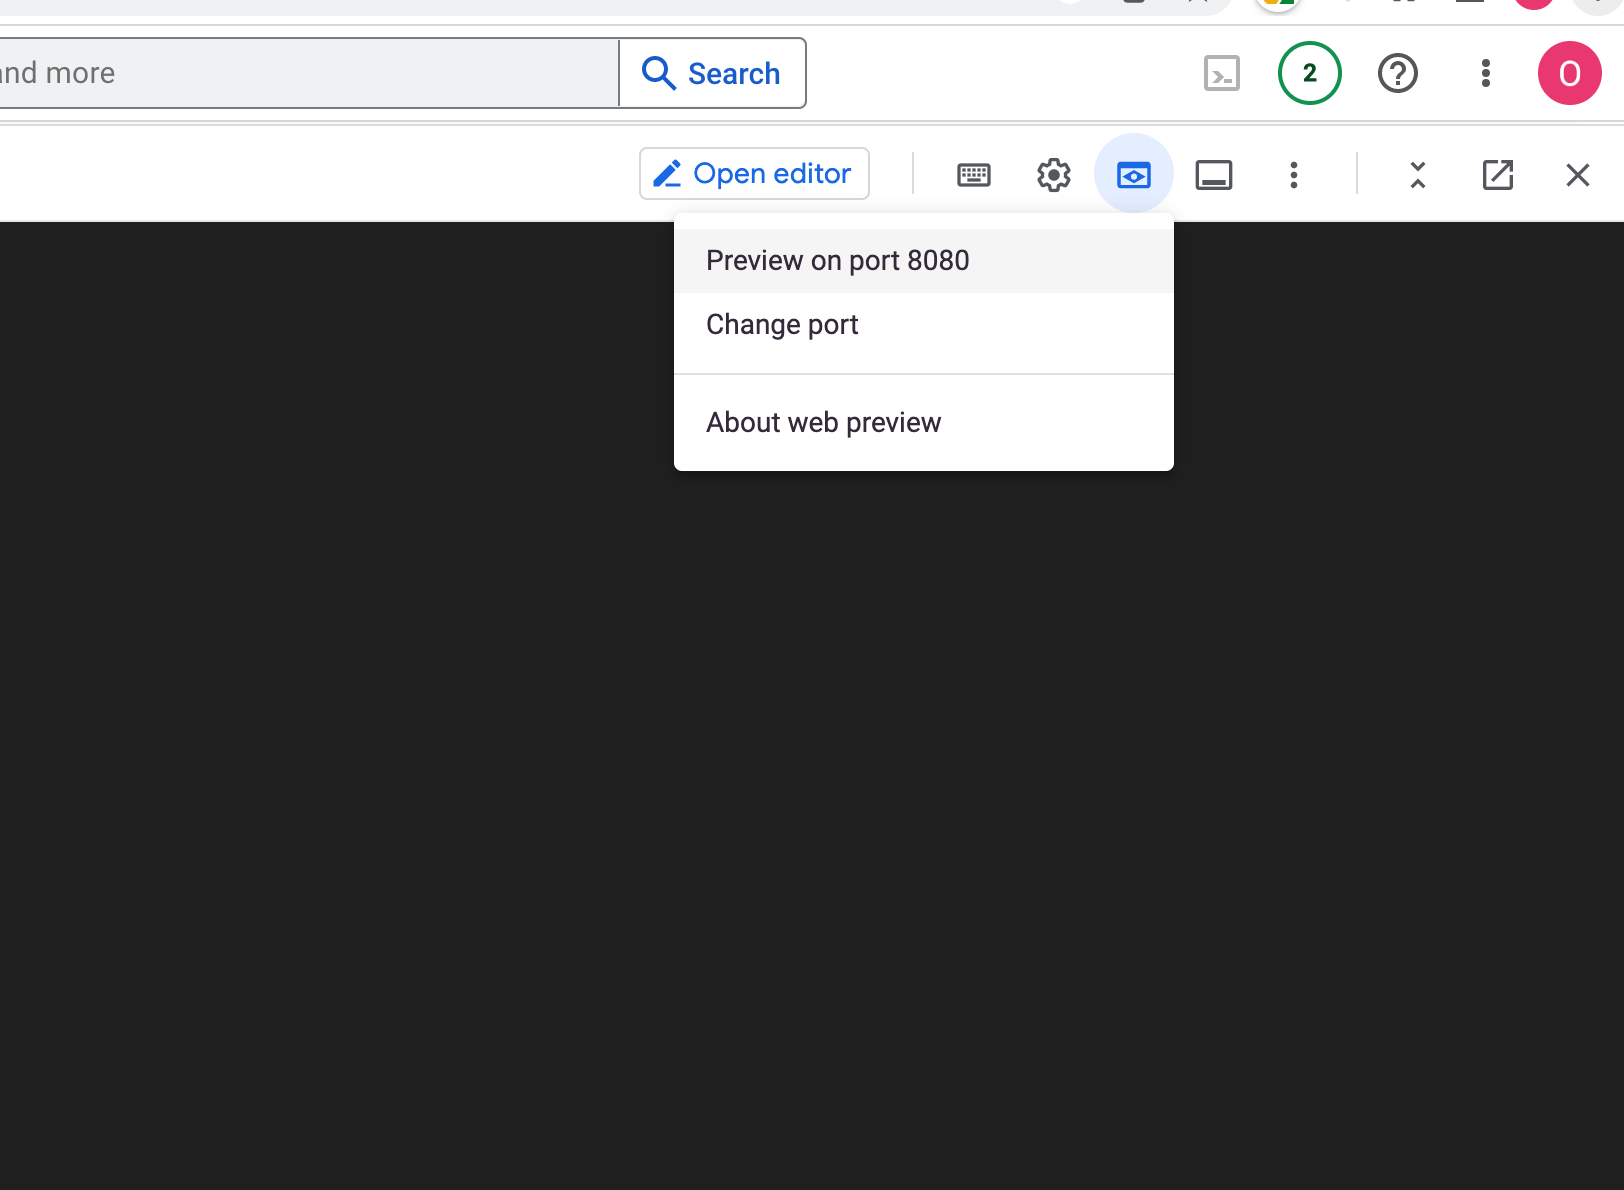
Click on web preview to see your app in action.
Important
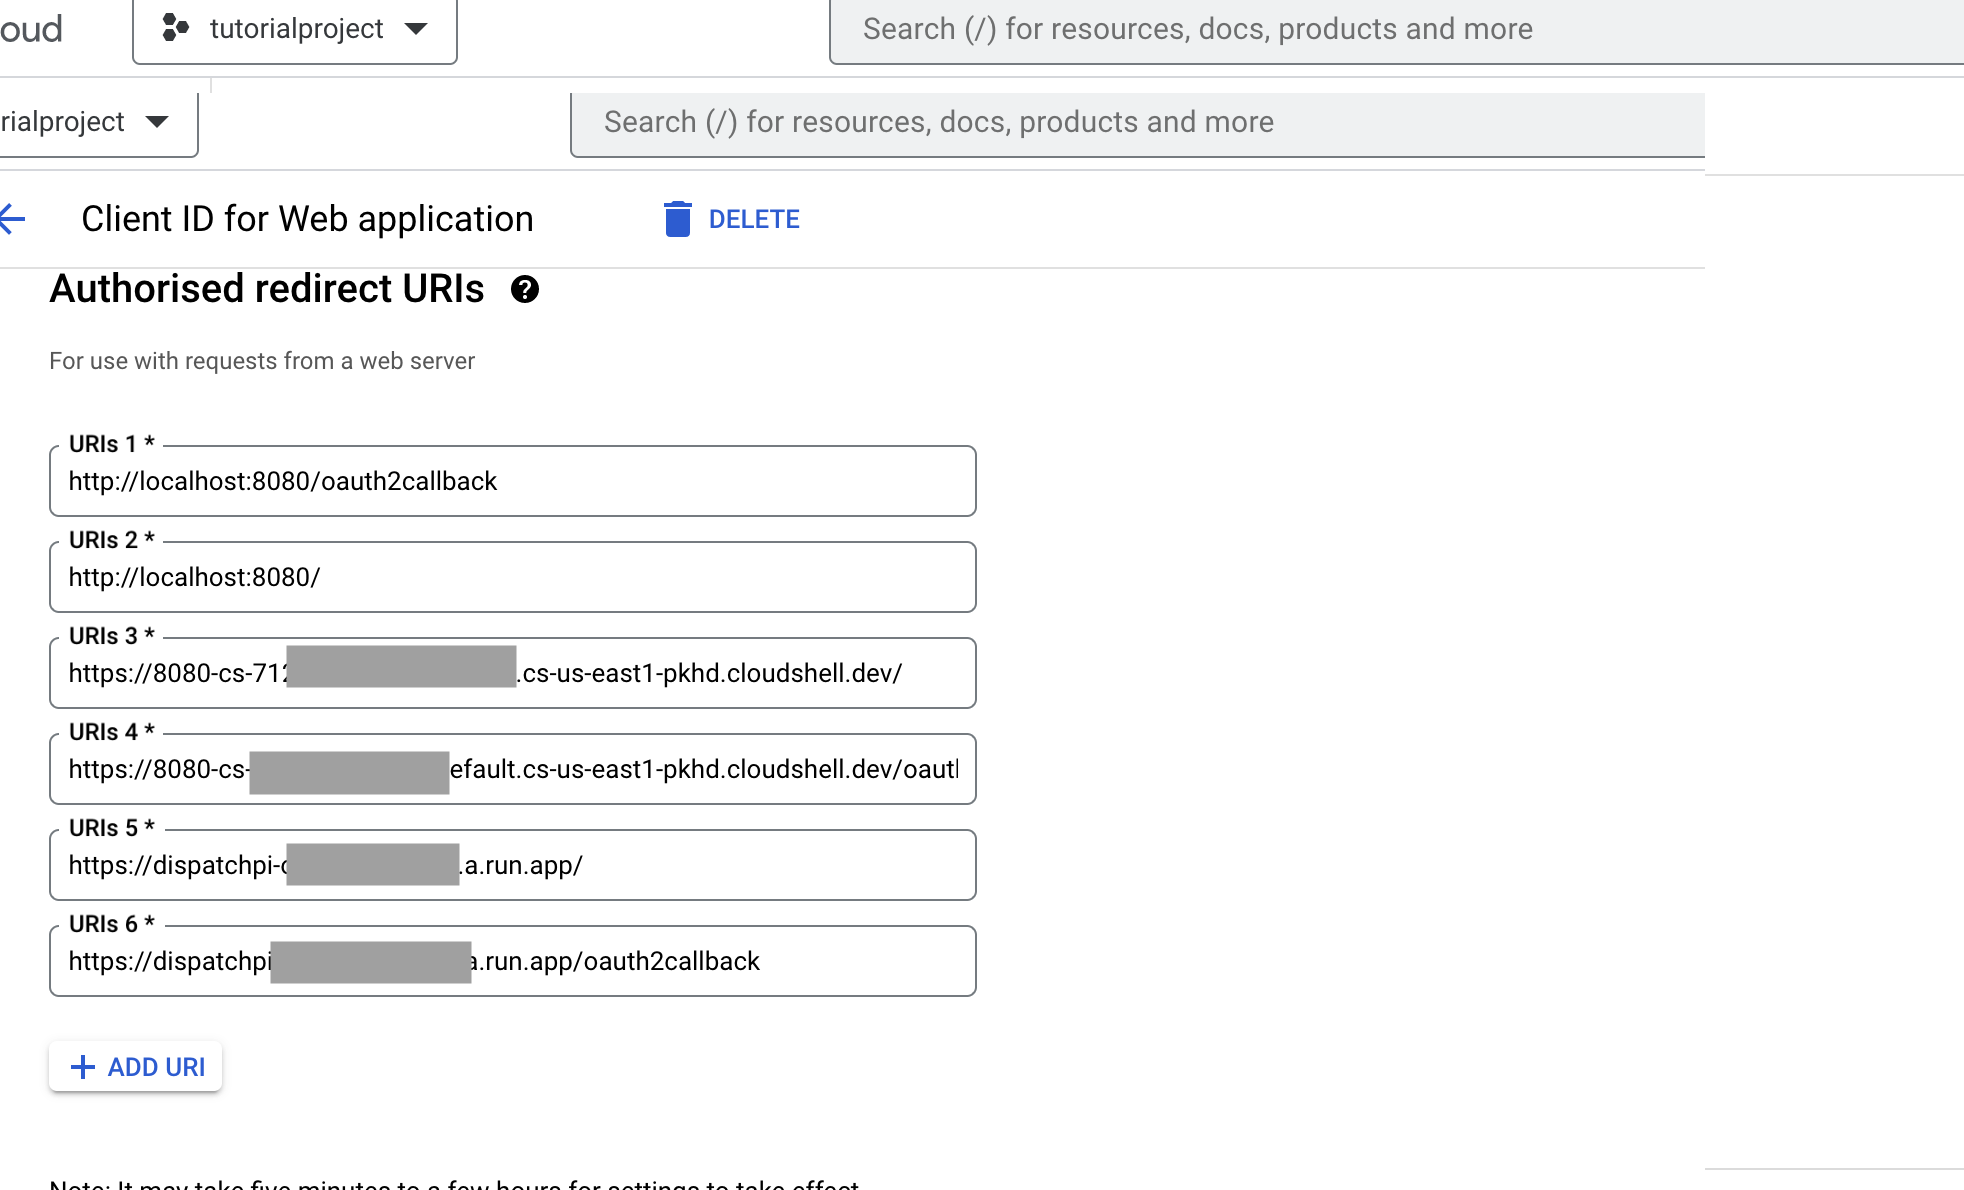
The image links might not work if the cloud app is not in your authorized URIs. To test your app live in cloudshell, copy your app’s cloud URL to your list of authorized redirect URIs. The URL should look something like this : https://.....-us-east1-pkhd.cloudshell.dev/. Add the URL twice, with /oauthcallback at the end of the second one. See the image below for an example.
If you run into any bugs, make sure you uploaded all of the required files to the GCP project, especially all the token files!
Build a docker image
Next, we want to build a docker image of our app. First make sure your dockerfile doesn’t end by “.py”. It must just be called “Dockerfile”. Run:
gcloud builds submit --tag $TAG-build1
See here for an explanation of this command.
You container image will be stored in the Google Container Registry : upon completion, a STATUS: SUCCESS message will be displayed.
Type this command to view all containers in your current project :
gcloud container images list
Test the application locally from Cloud Shell with this command (update “build1” as needed to your real tag):
# Ensure you have the latest version of the image
docker pull $TAG-build1

# Run the container
docker run -p $PORT:$PORT -e PORT=$PORT $TAG-build1
Open the web preview again and test your app. Everything should work the same as when you when running it directly from the cloud shell. You can stop the app in the cloud shell with the ctrl+c shortcut.
Deploy your app
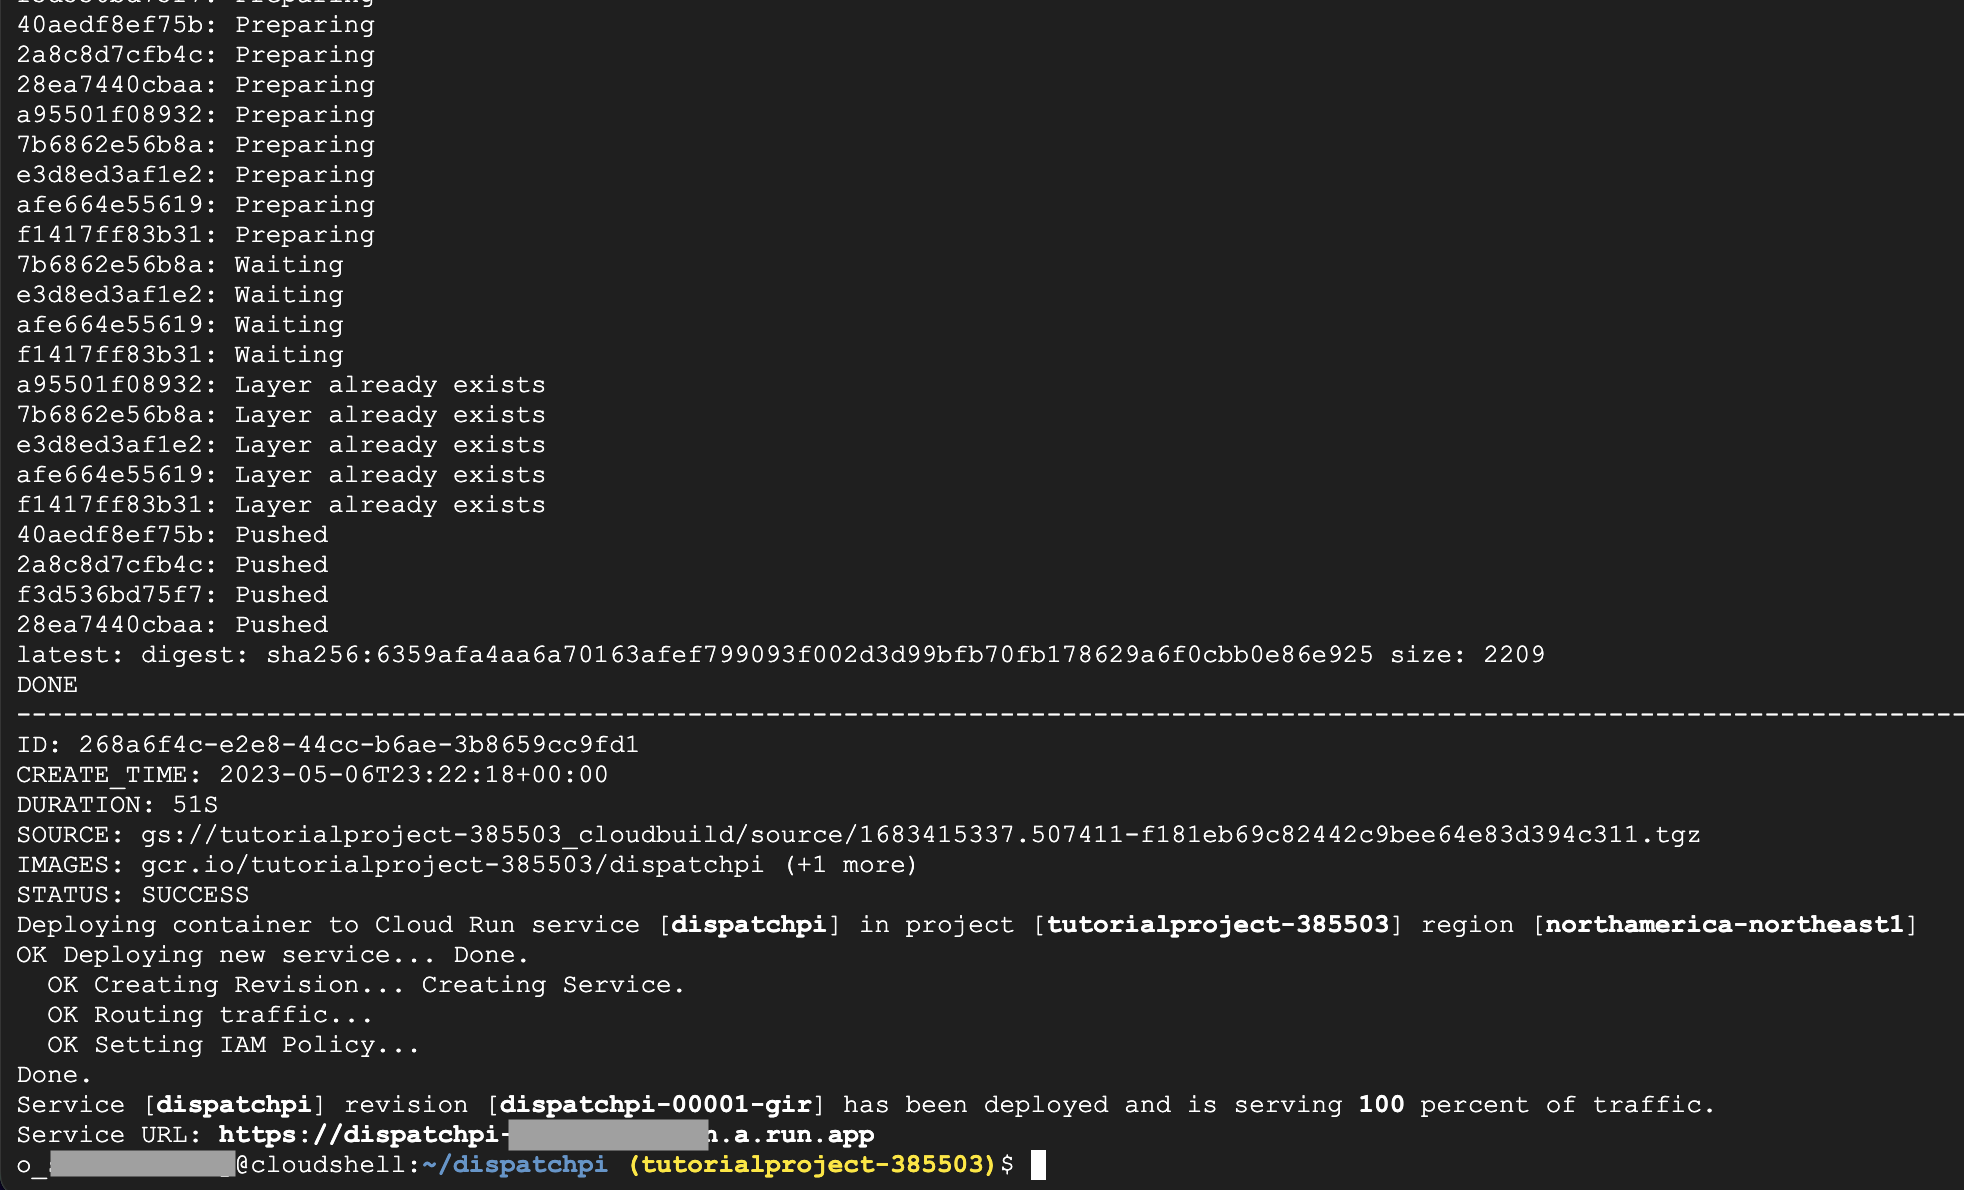
The following code will deploy your app on Google Cloud Run.
gcloud run deploy "$APP" --image "$TAG-build1" --platform "managed" --region "$REGION" --allow-unauthenticated
Eventually a success message should come up. The last thing we need to do is add the app’s URL to your credential’s authorized redirect URIs.
Congratulations! Your app is now live.
You should be able to access it from any browser with this permanent URL. Be careful because this public URL is open to anyone with the link – sharing it means anyone could hit your billed APIs. You can view your app’s traffic and other details by cliking on “Cloud Run” in the GCP sidebar.
The next step is to connect our raspberry pi to the screen and instruct it to visit this website at regular intervals.