DispatchPi part 1: build a local app 📟
Required for this section
- A Google Cloud Platform (GCP) account, with billing activated.
- An IDE for Python. I use Visual Studio Code.
- A Gmail inbox created specifically for the project. Create one here: https://mail.google.com/
Pull the code
Start by pulling the code in the /server folder of the Github repo to your local machine. Here’s an overview of all files:
-
main.pycontains the UI and the routing framework for our webapp built with Flask. -
gmail_connector.pyis a python class that connects to a Gmail inbox using the Gmail API python client and extracts the relevant images for both the satellite and earth frames. -
eink_image.pyis a python class that converts any image (even HEIC!) into a low resolution B&W image suitable for the e-ink display. - The
fontsfolder contains a font file used to draw text onto the image. - The
secretssubfolder will house three files you must create:-
client_secret.json, which logs you in to your GCP project -
flask_key.json, a unique identifier for your flask app -
token.json, which will be created by the app to authenticate you for a specific Gmail inbox. Themain.pyfile will automatically refresh the authentication token if it is expired.
-
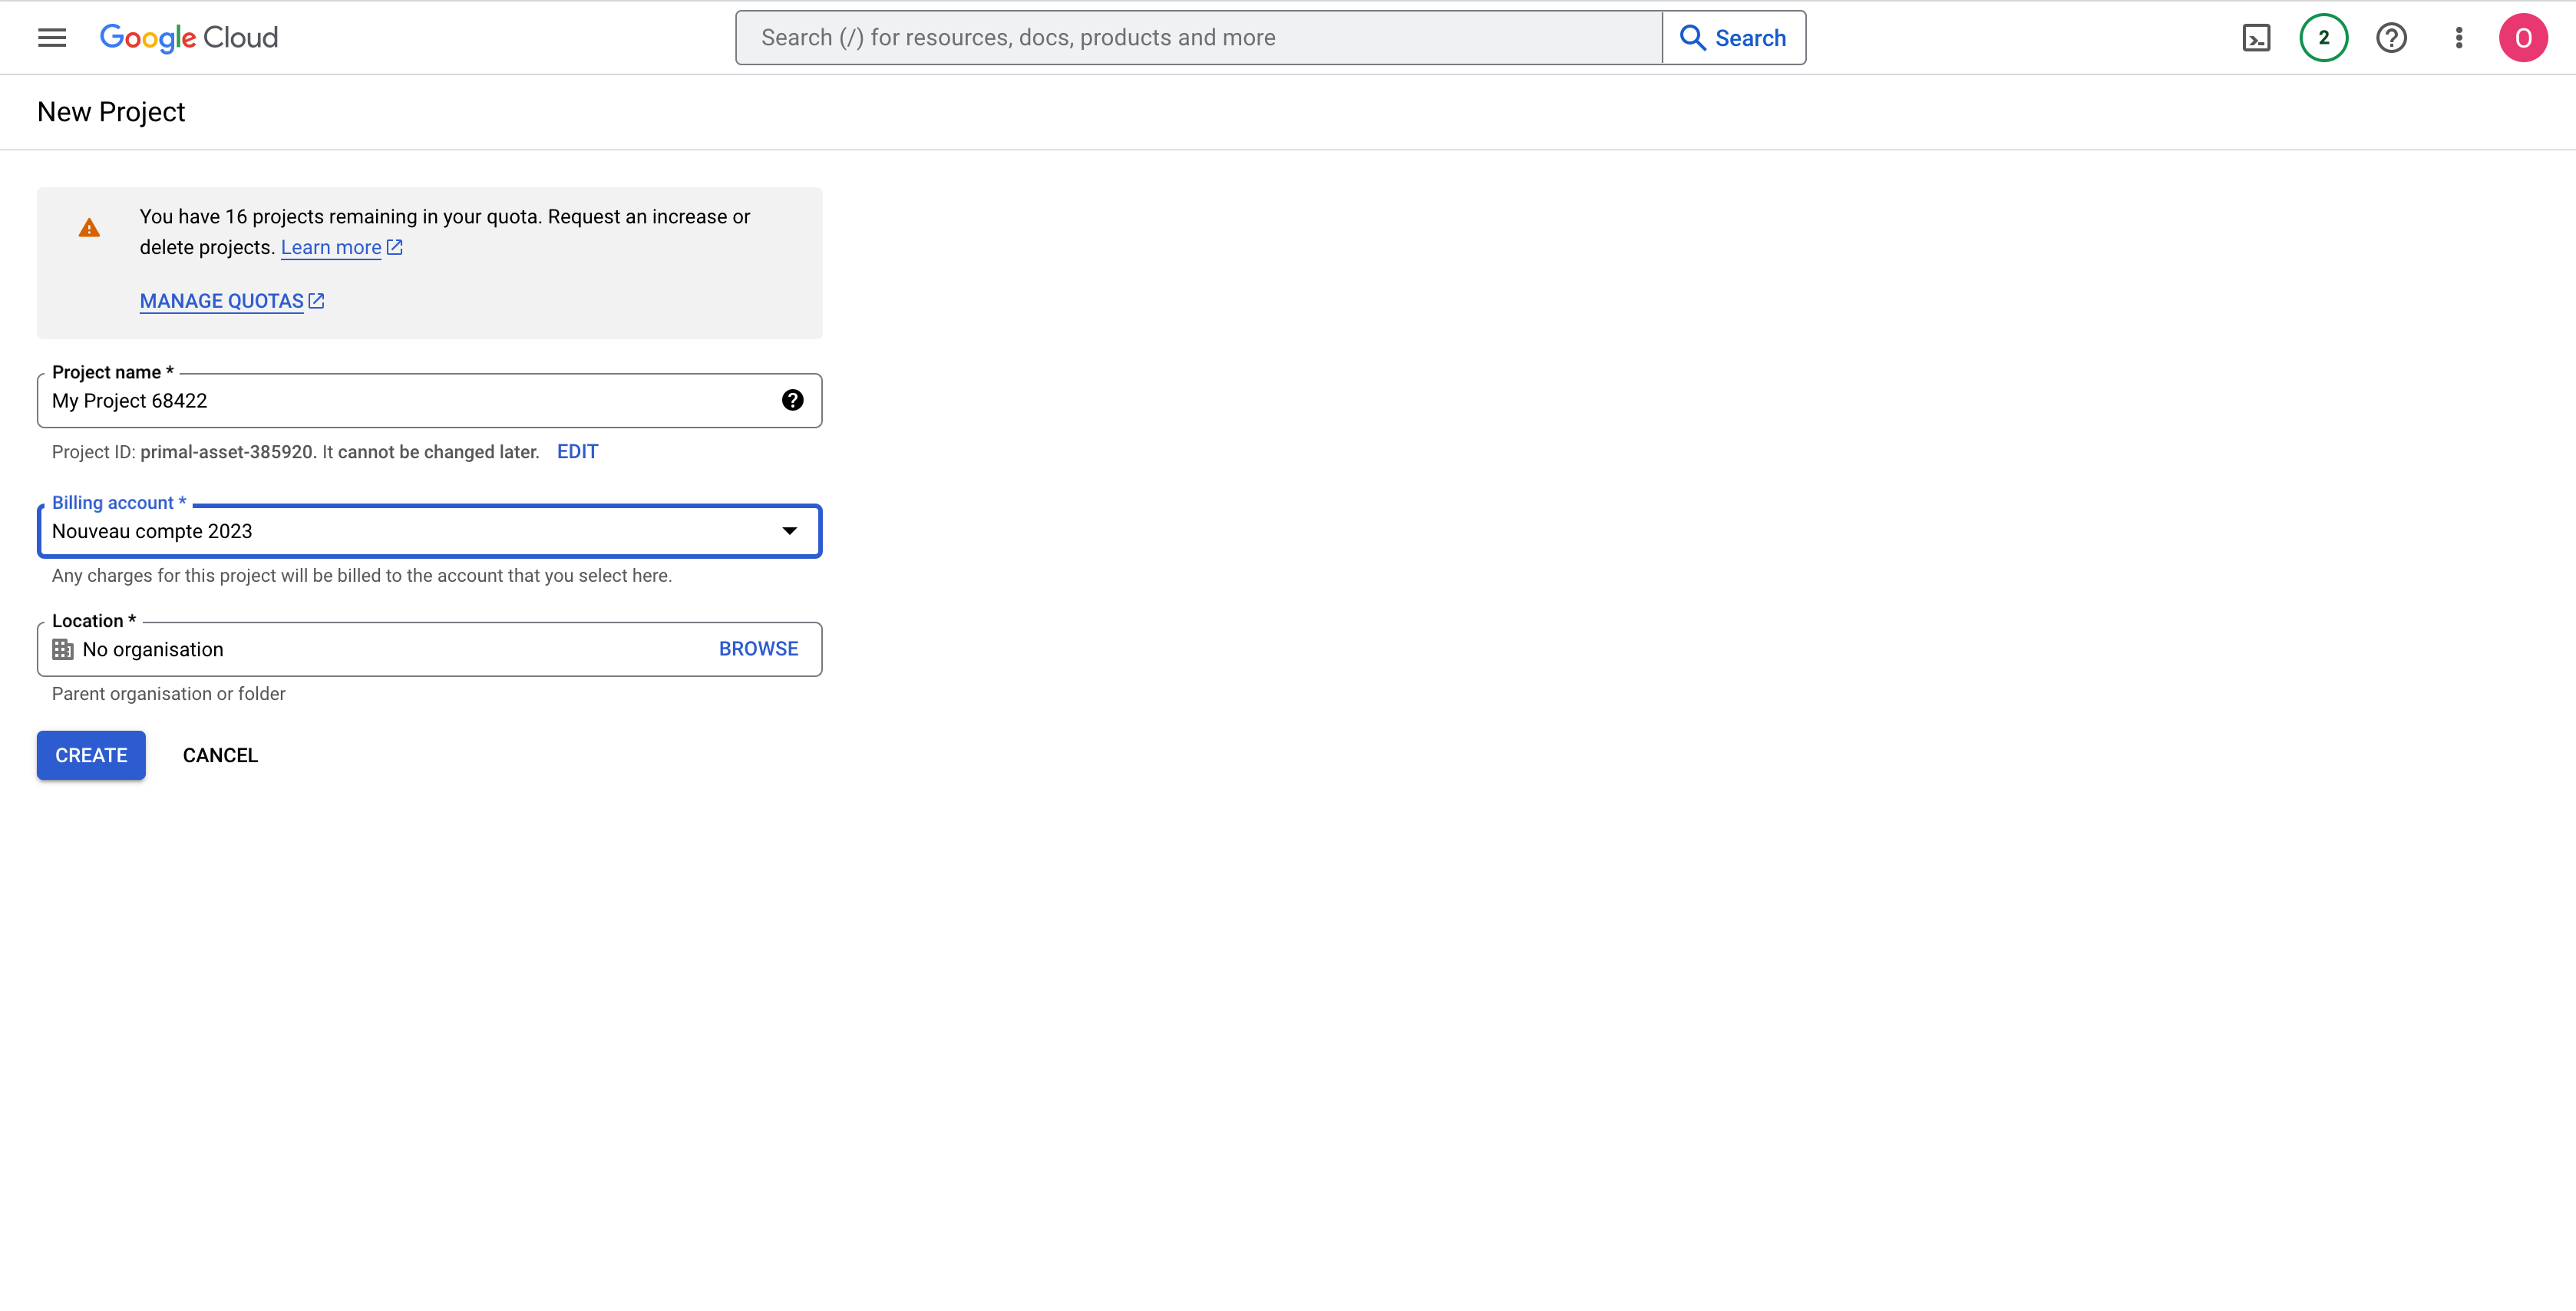
Create a GCP project
Then, in your browser, create a new GCP project and connect it to an existing billing account.
Once it’s created,select it, click on the sidebar and then on “Enabled APIs and services”.
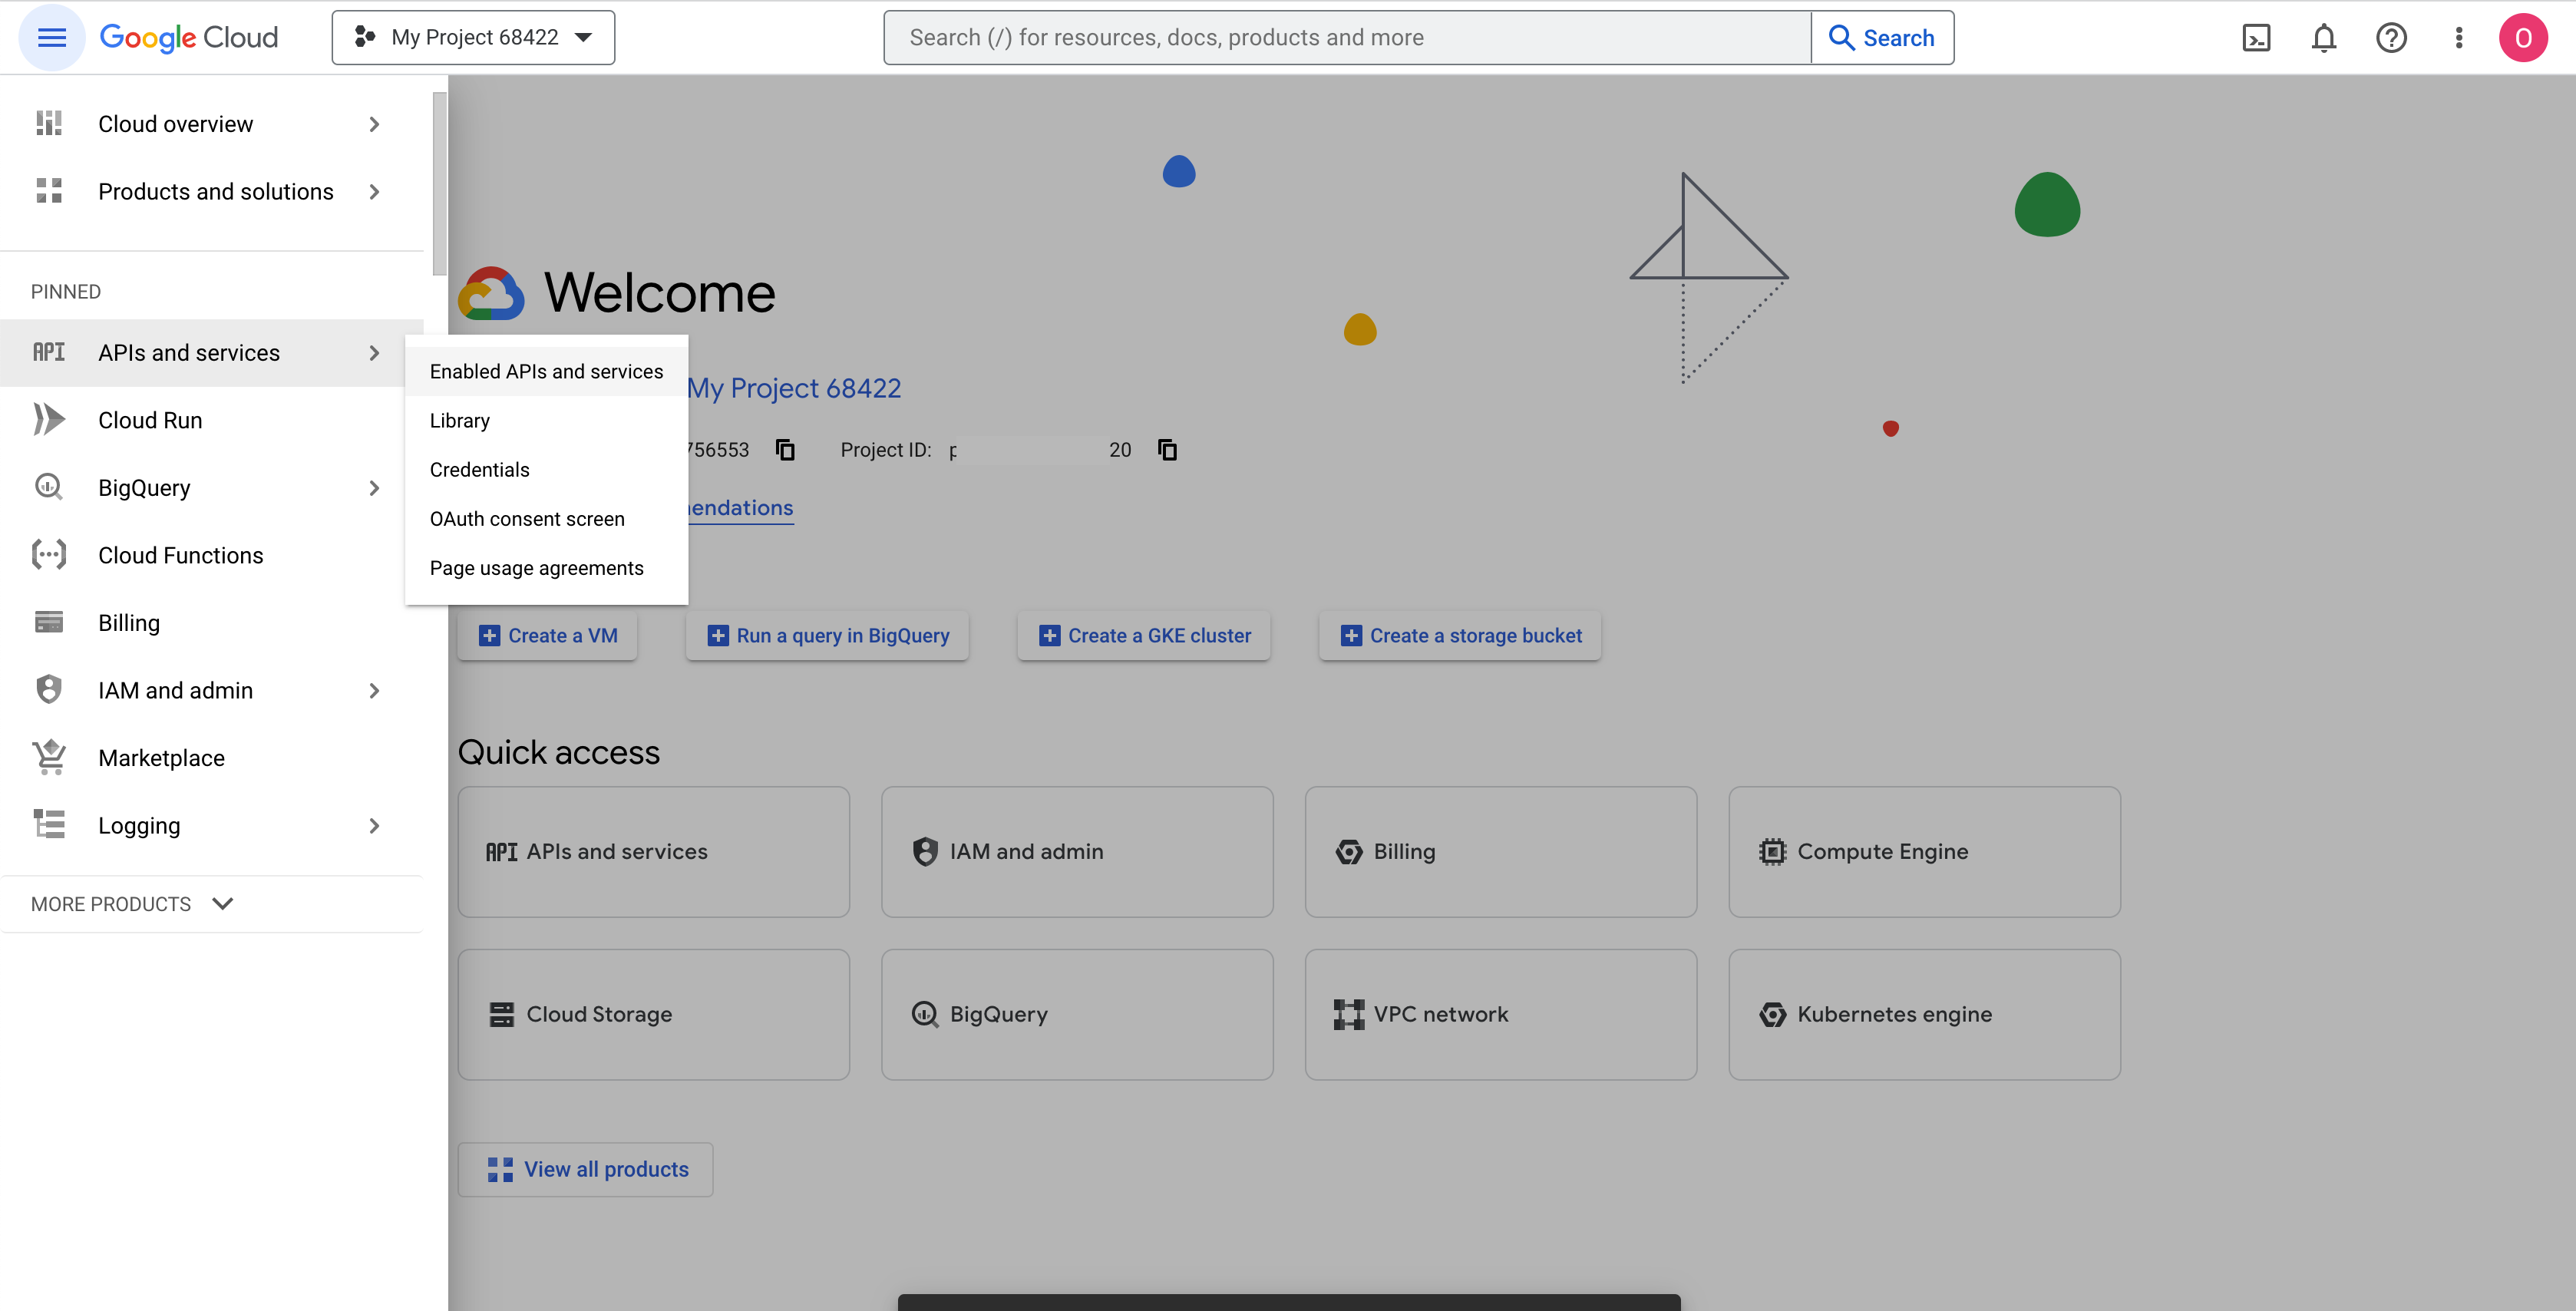
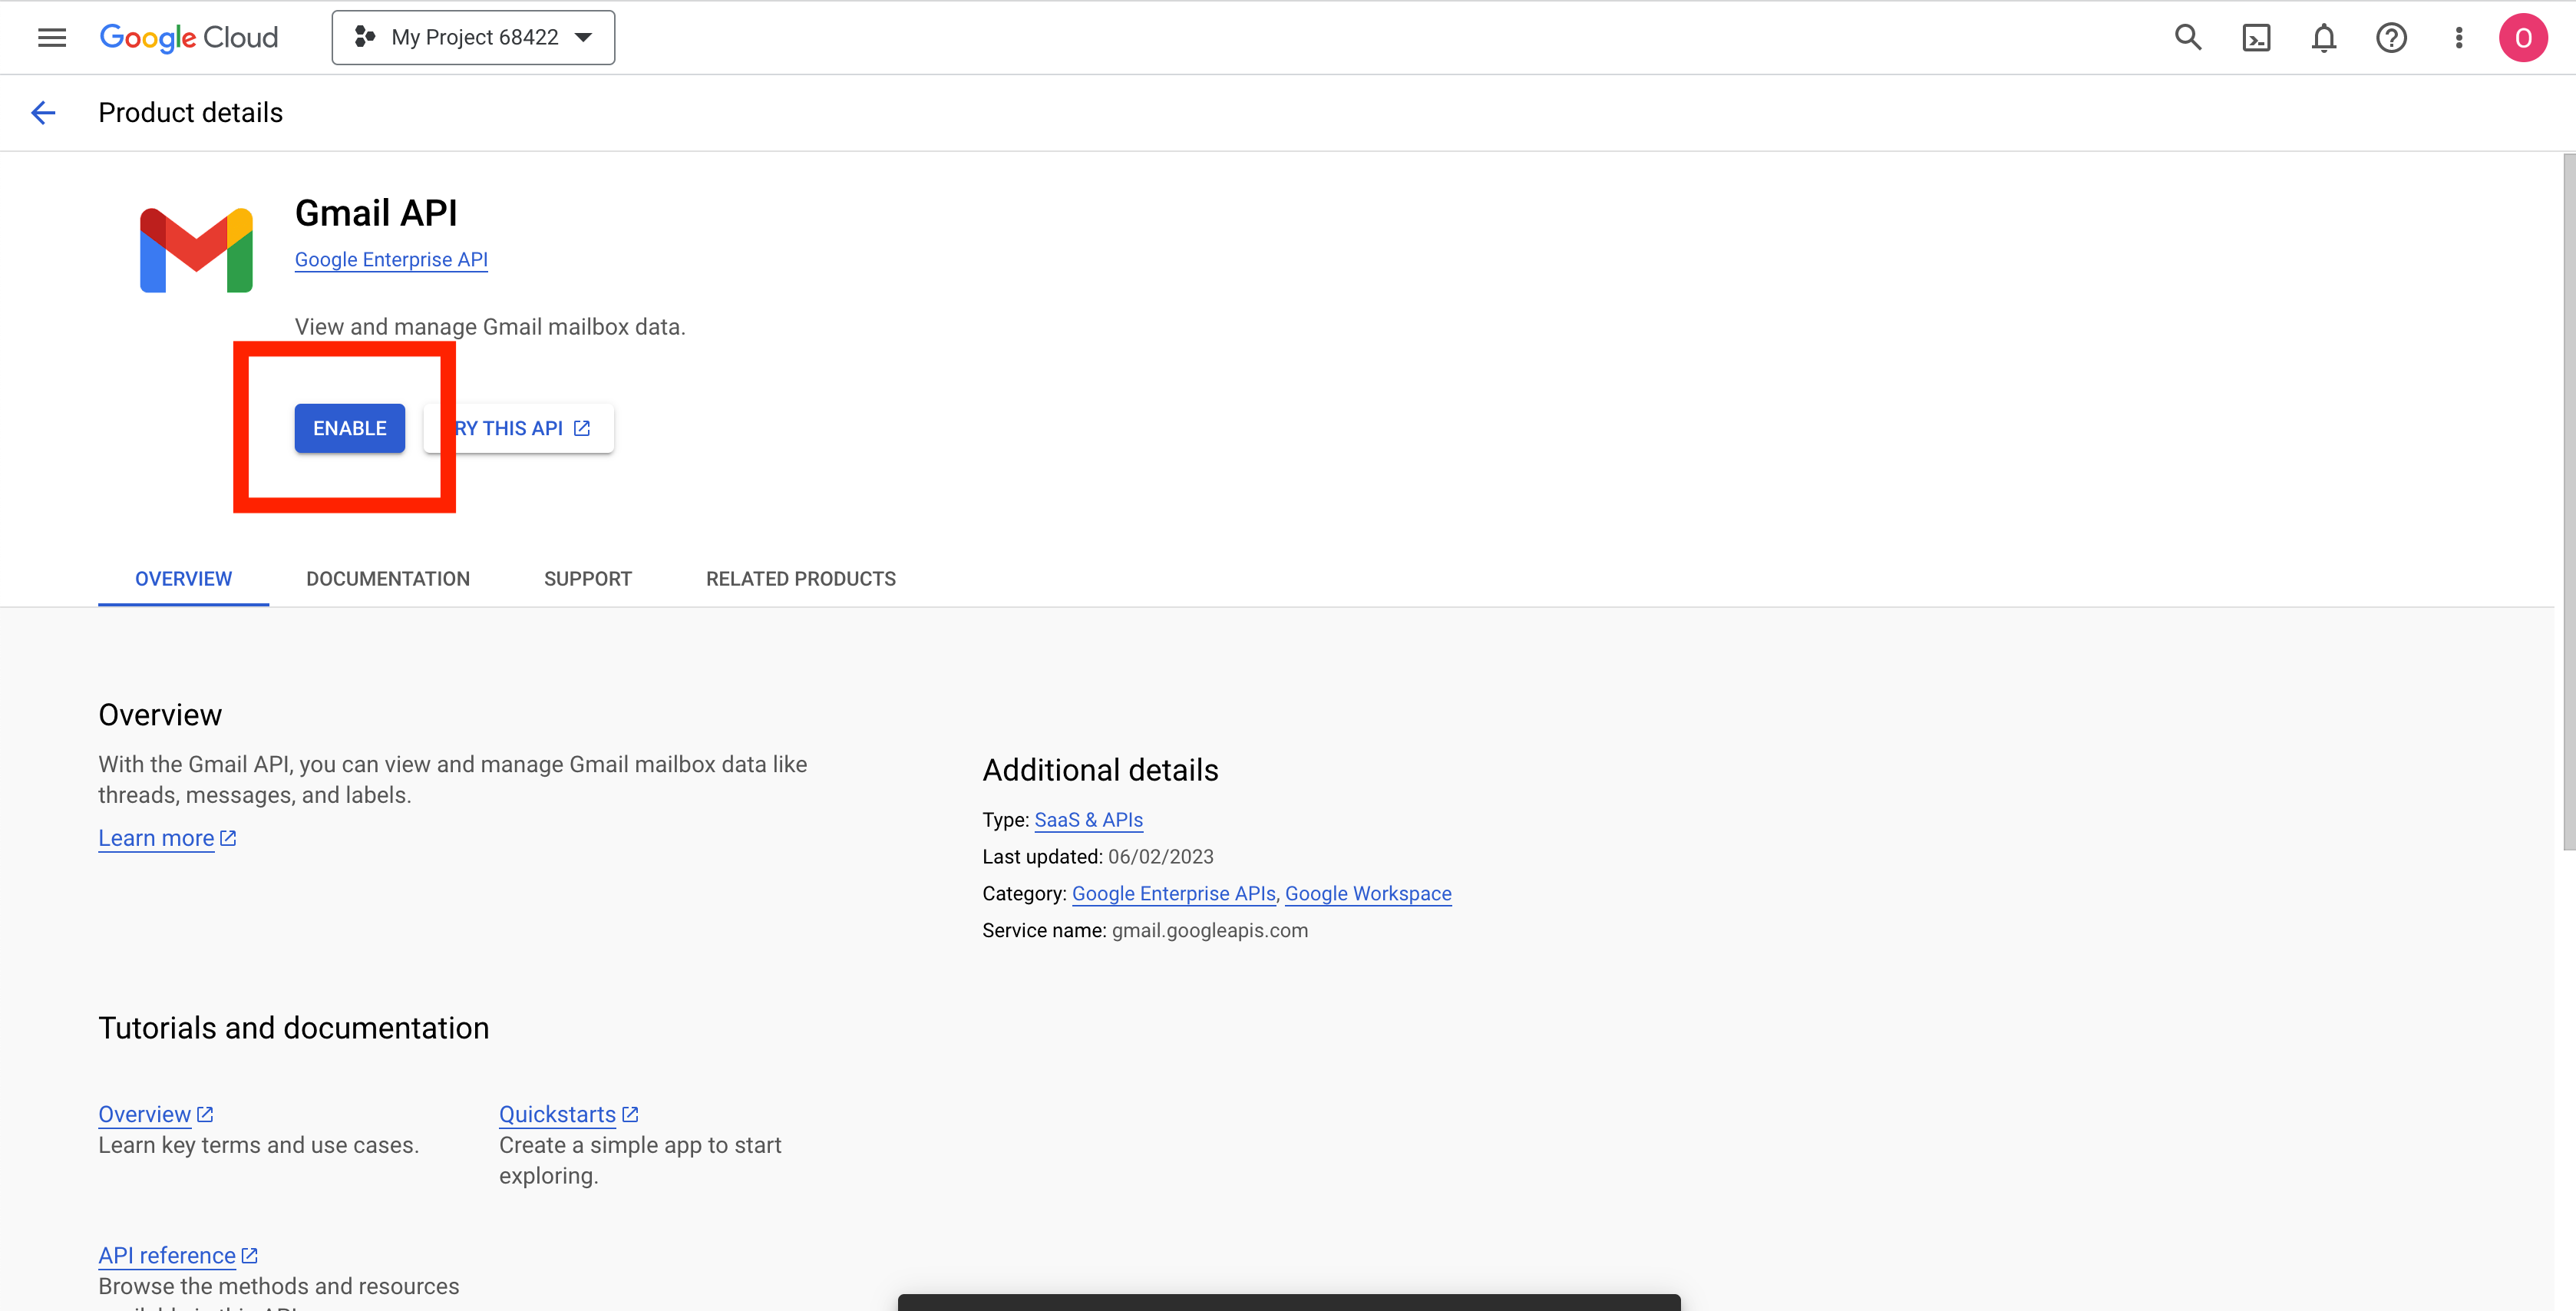
Since this project uses the Gmail API, you will need to activate it in this project. Search for the Gmail API in the search bar at the top of the page, click on it and then click on the enable button.
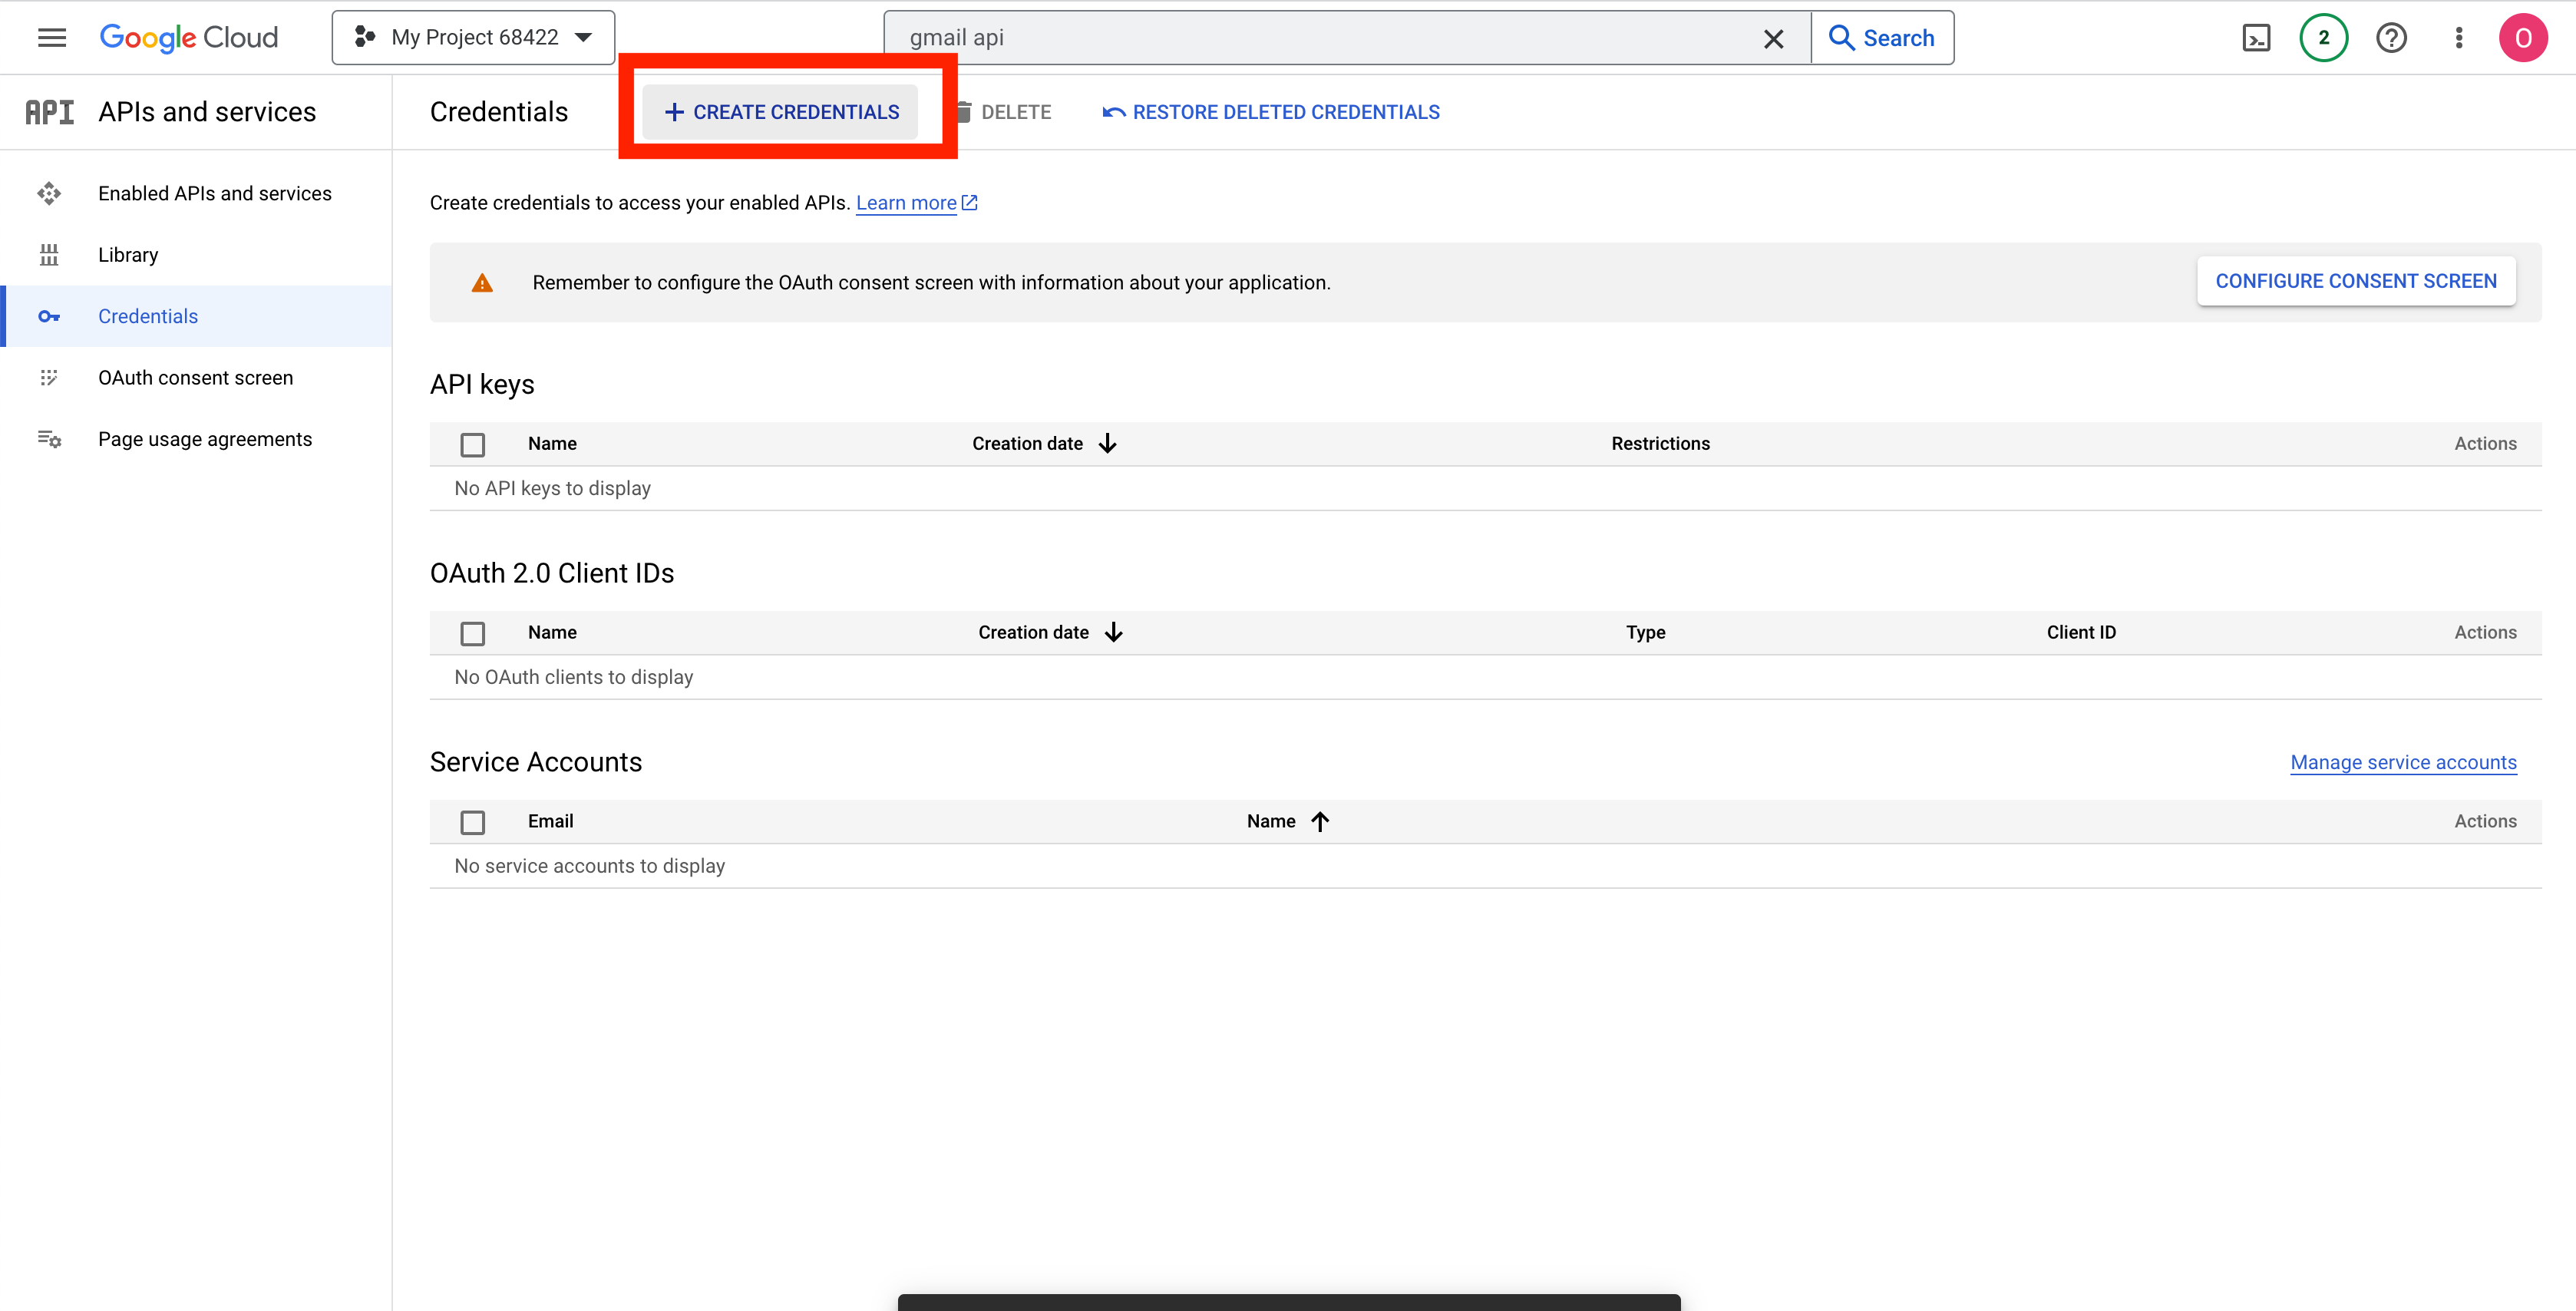
Create OAuth Credentials
Next, on the left sidebar, click on “Credentials” and then click on “Create credentials” at the top of the screen.
Select “OAuth client ID” and advance to the next screen. GCP asks you to configure a consent screen that will be shown to users who wish to use your app. Click on “configure consent screen”. Select “External” under the User Type header, and then click on create. Fill in the following fields:
- App name: name it as you see fit
- User support email: select your own Google email from the dropdown
- Developer contact information: type out your own Google email again
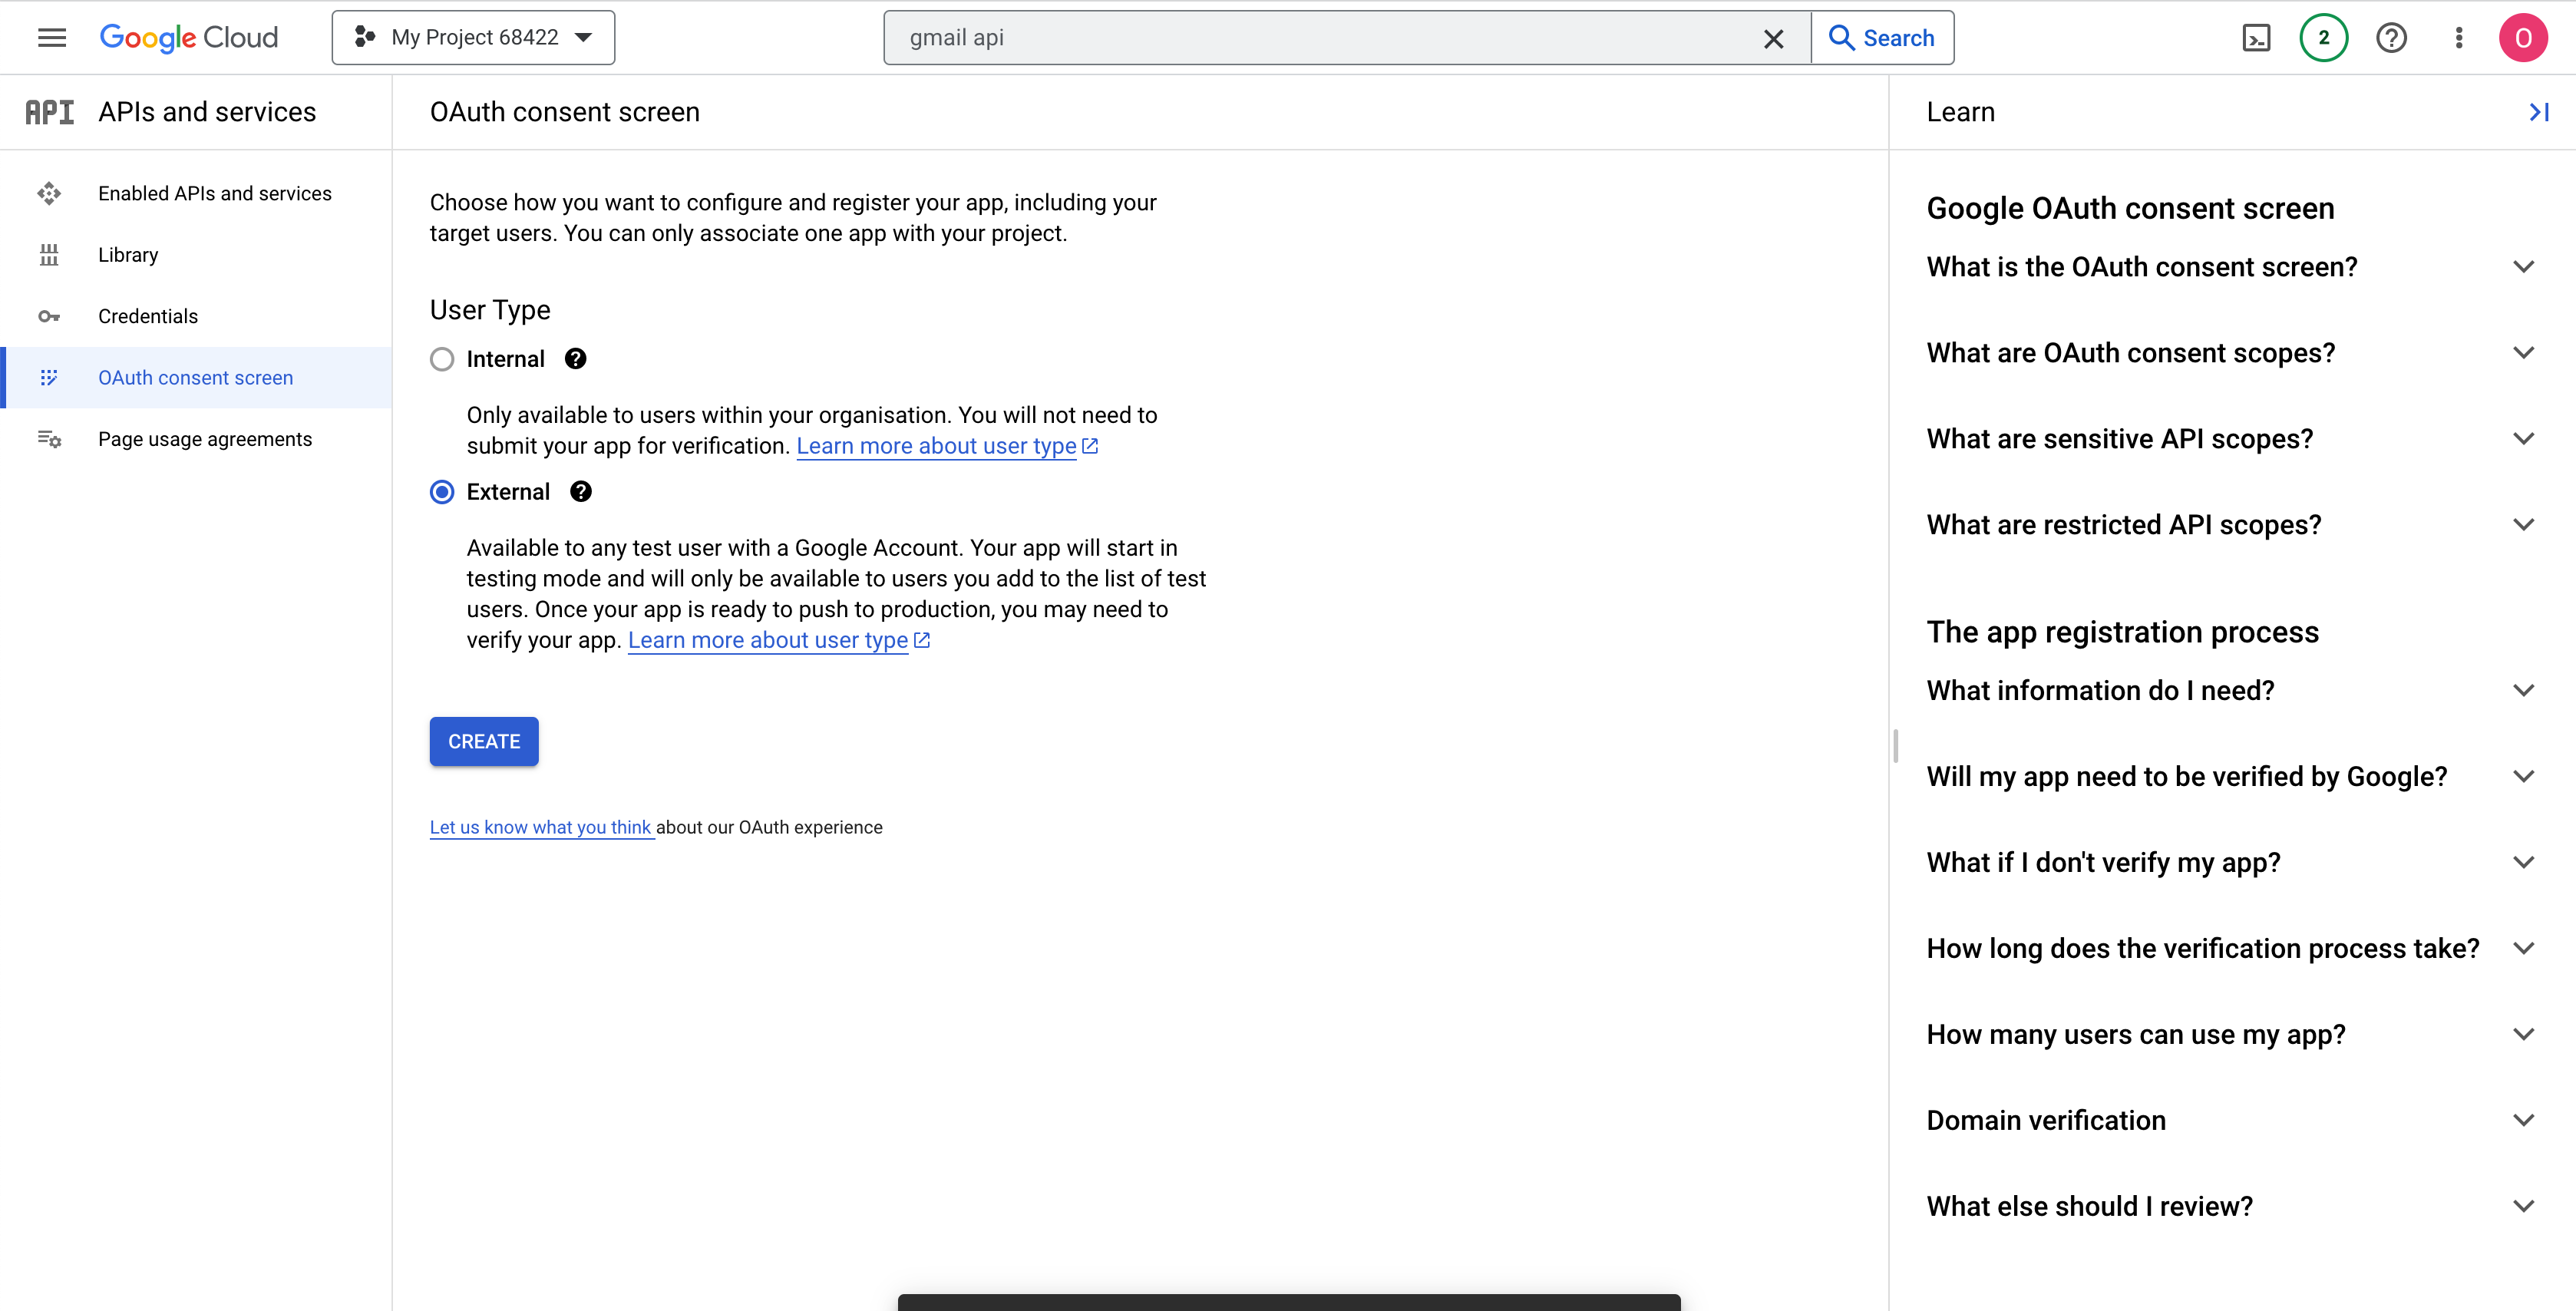
Click on “Save and continue”. Skip the step asking you to add app scopes by clicking “save and continue again”. Also skip the step asking you to add test users. Confirm everything is correct and then click on “Back to dashboard at the bottom of the page”.
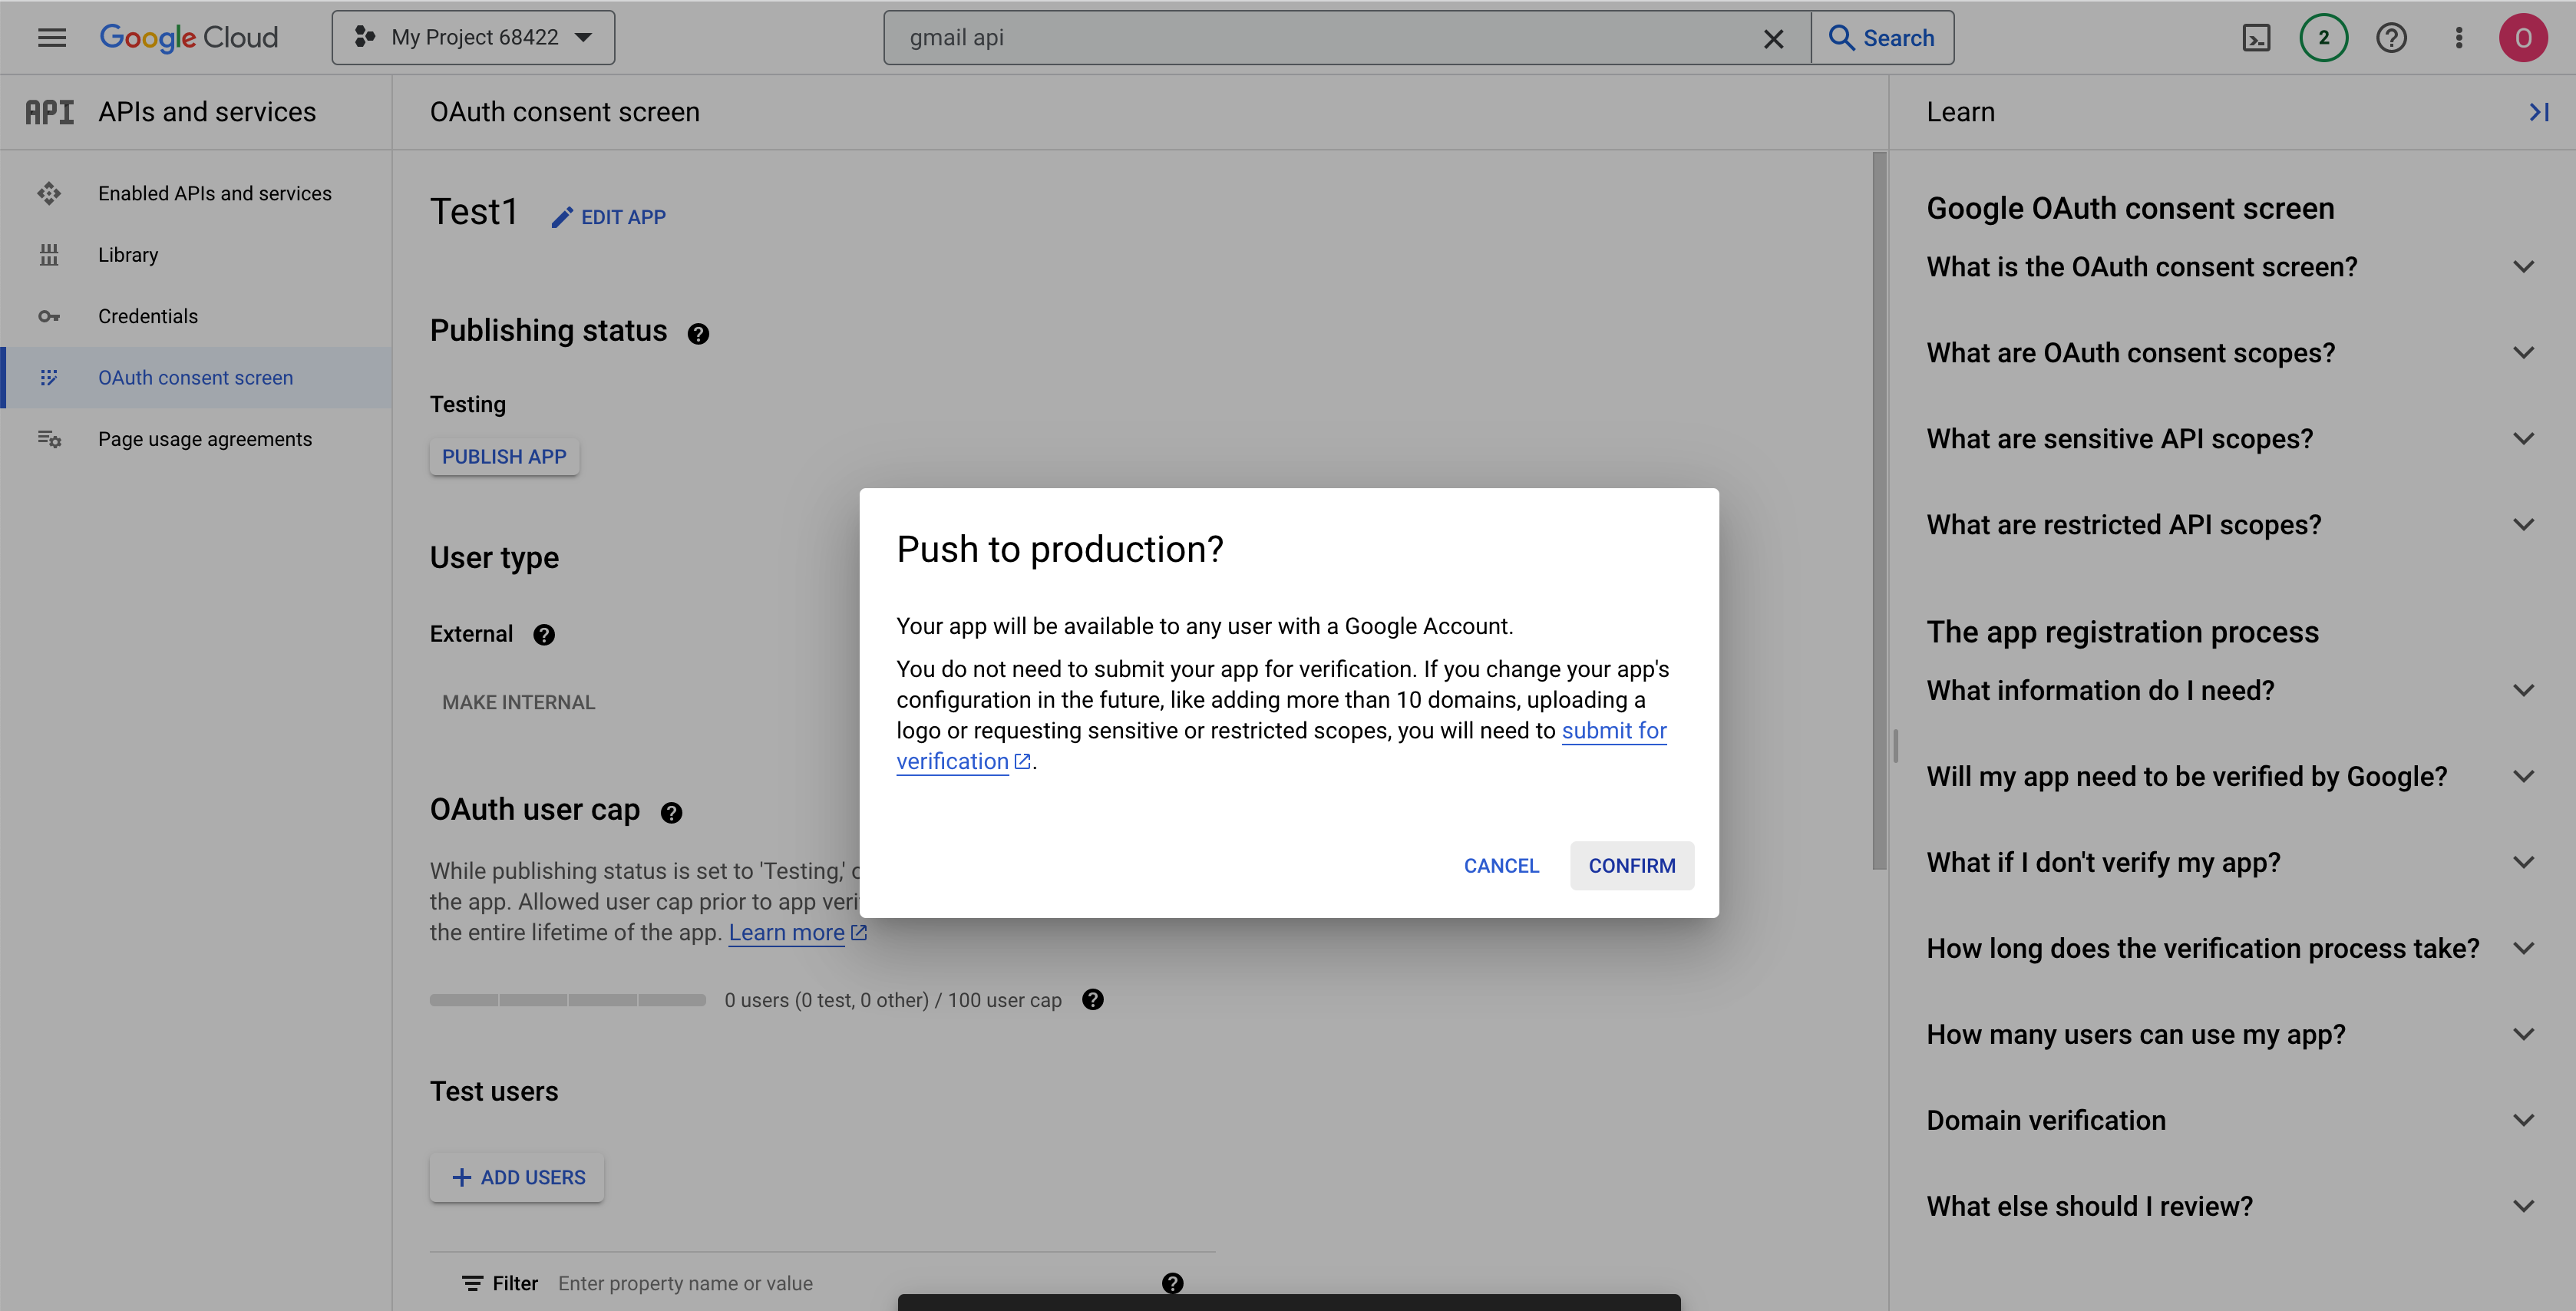
On the summary screen of the OAuth consent screen, click on “Publish App”. Accept the warning and click confirm.
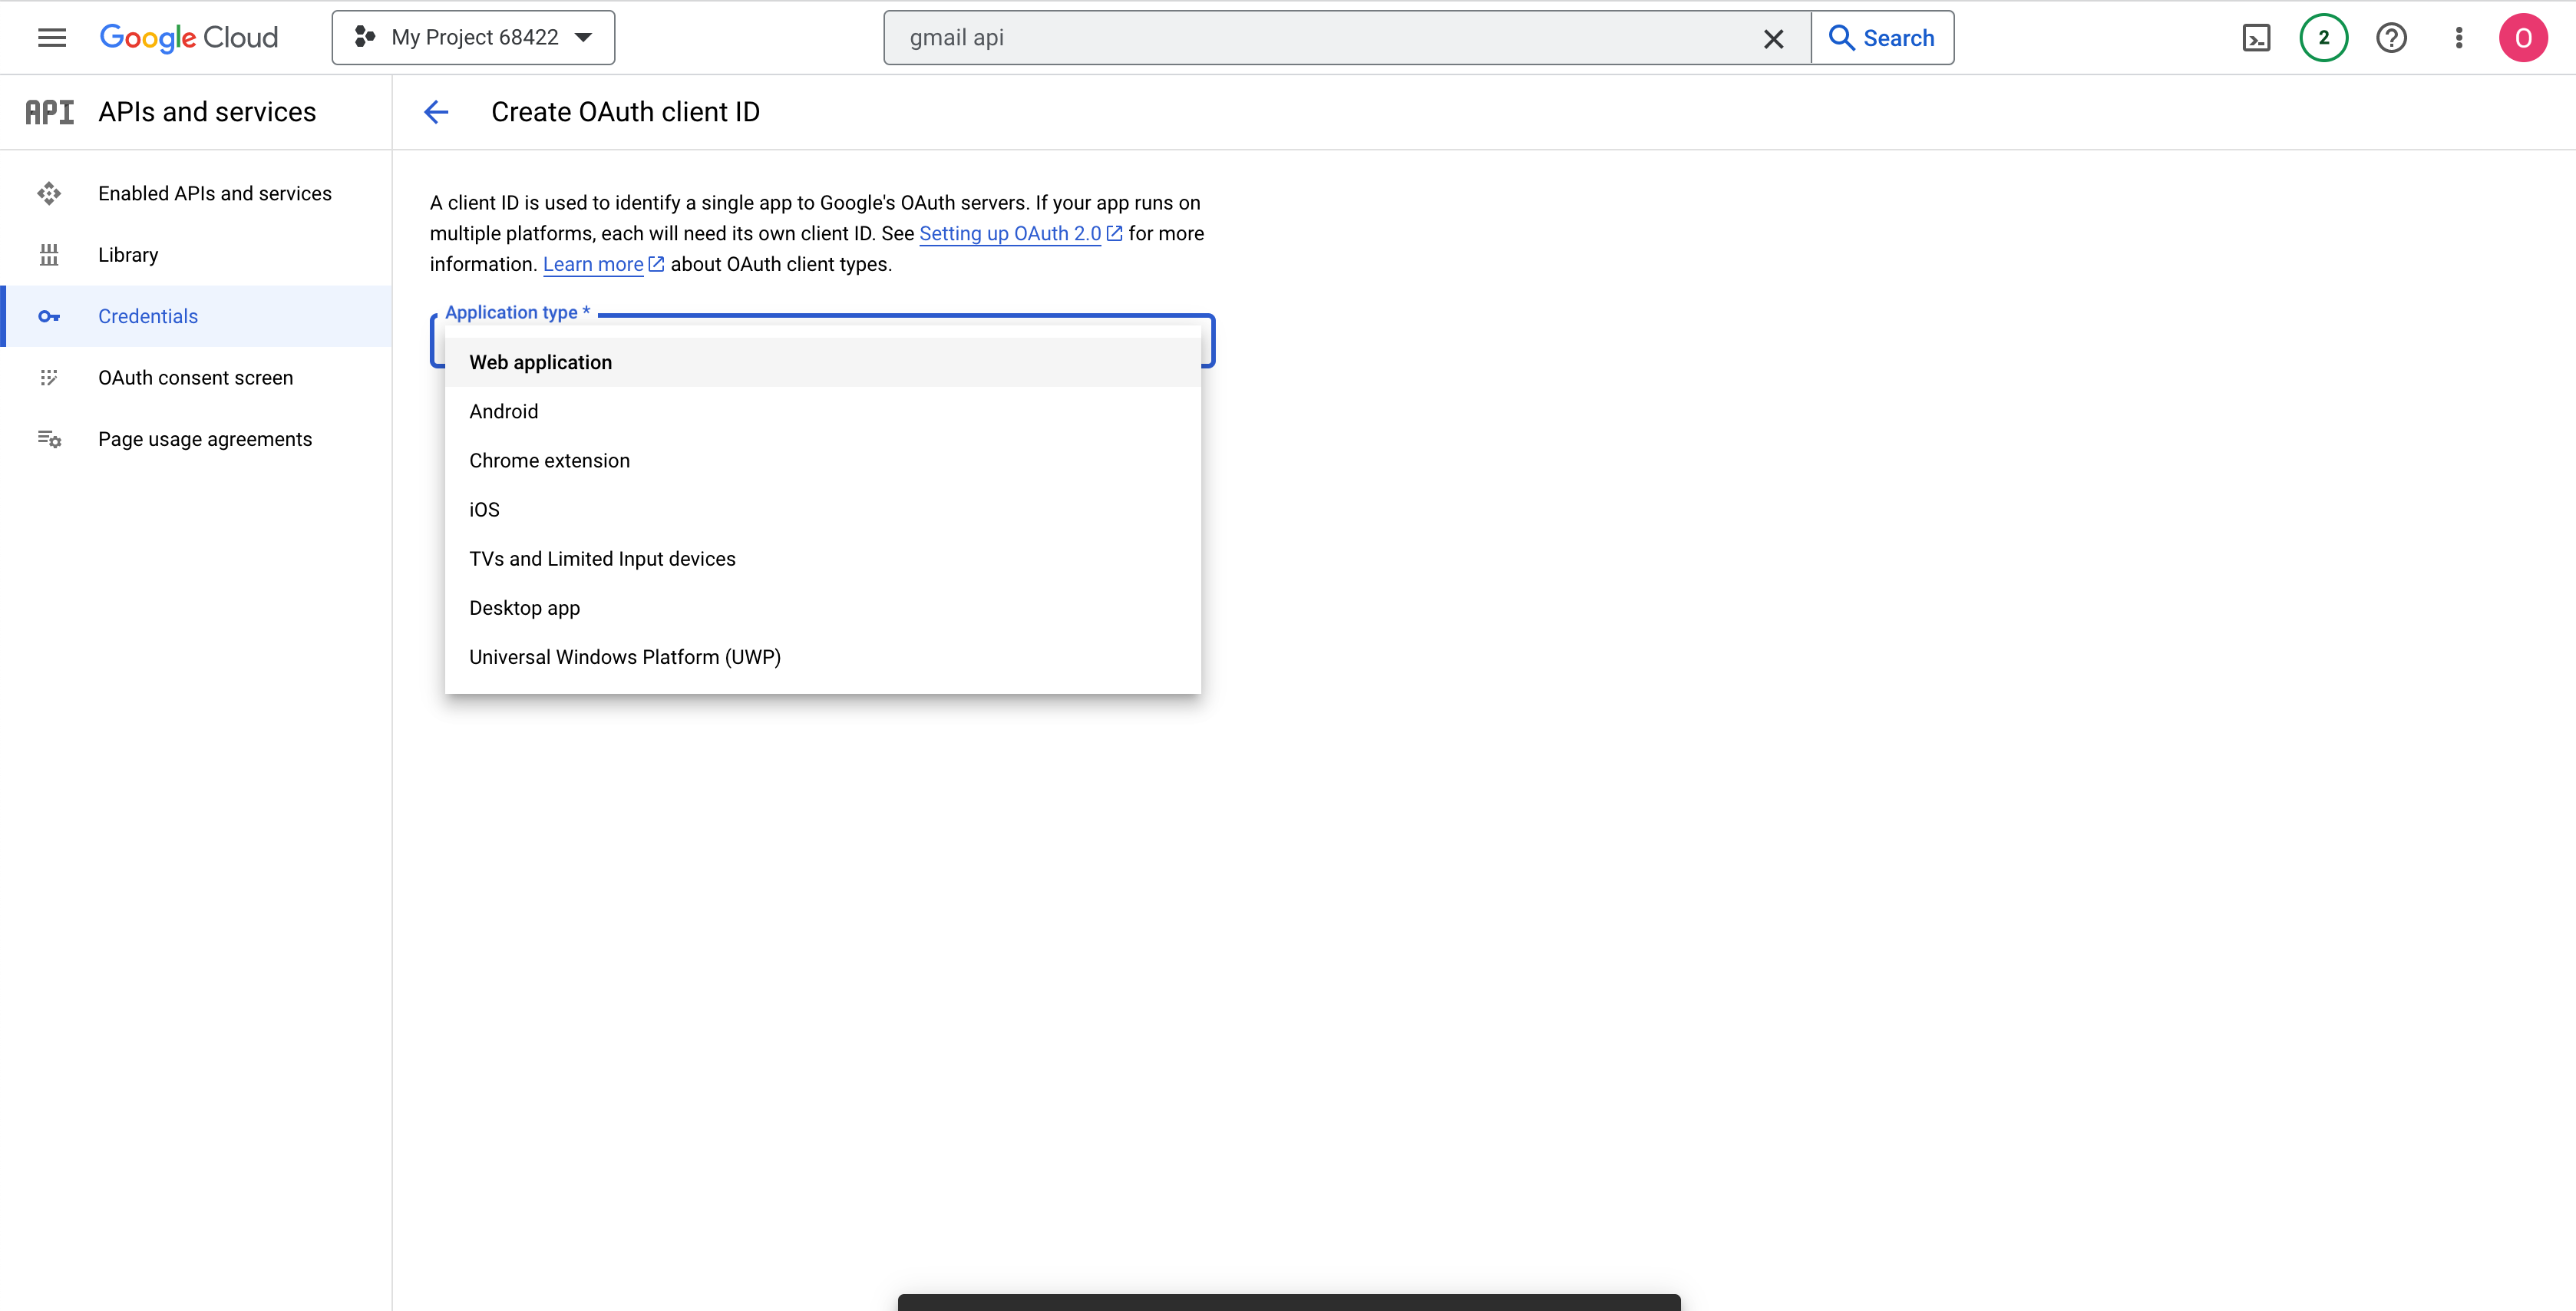
Your Google OAuth consent screen is now finalized. It means we can now create the credentials we needed to access the Gmail API. Head over to the credential menus on the left, and click on create credentials > OAuth client ID.
Select “Web application” as the application type. Edit the name if you’d like to.
Add authorized redirects
WARNING
This step is important. Doing it right will spare you many a headache.
In the authorized redirect URIs, add the two following URLs, by making sure you are not omitting any character (include the backslashes). If you encounter any problems with authentication, review these URLs carefully.
http://localhost:8080/oauth2callbackhttp://localhost:8080/
The app will only accept authentication calls originating from these URLs. The localhost address is the local flask server you will be running during tests on your local machine.
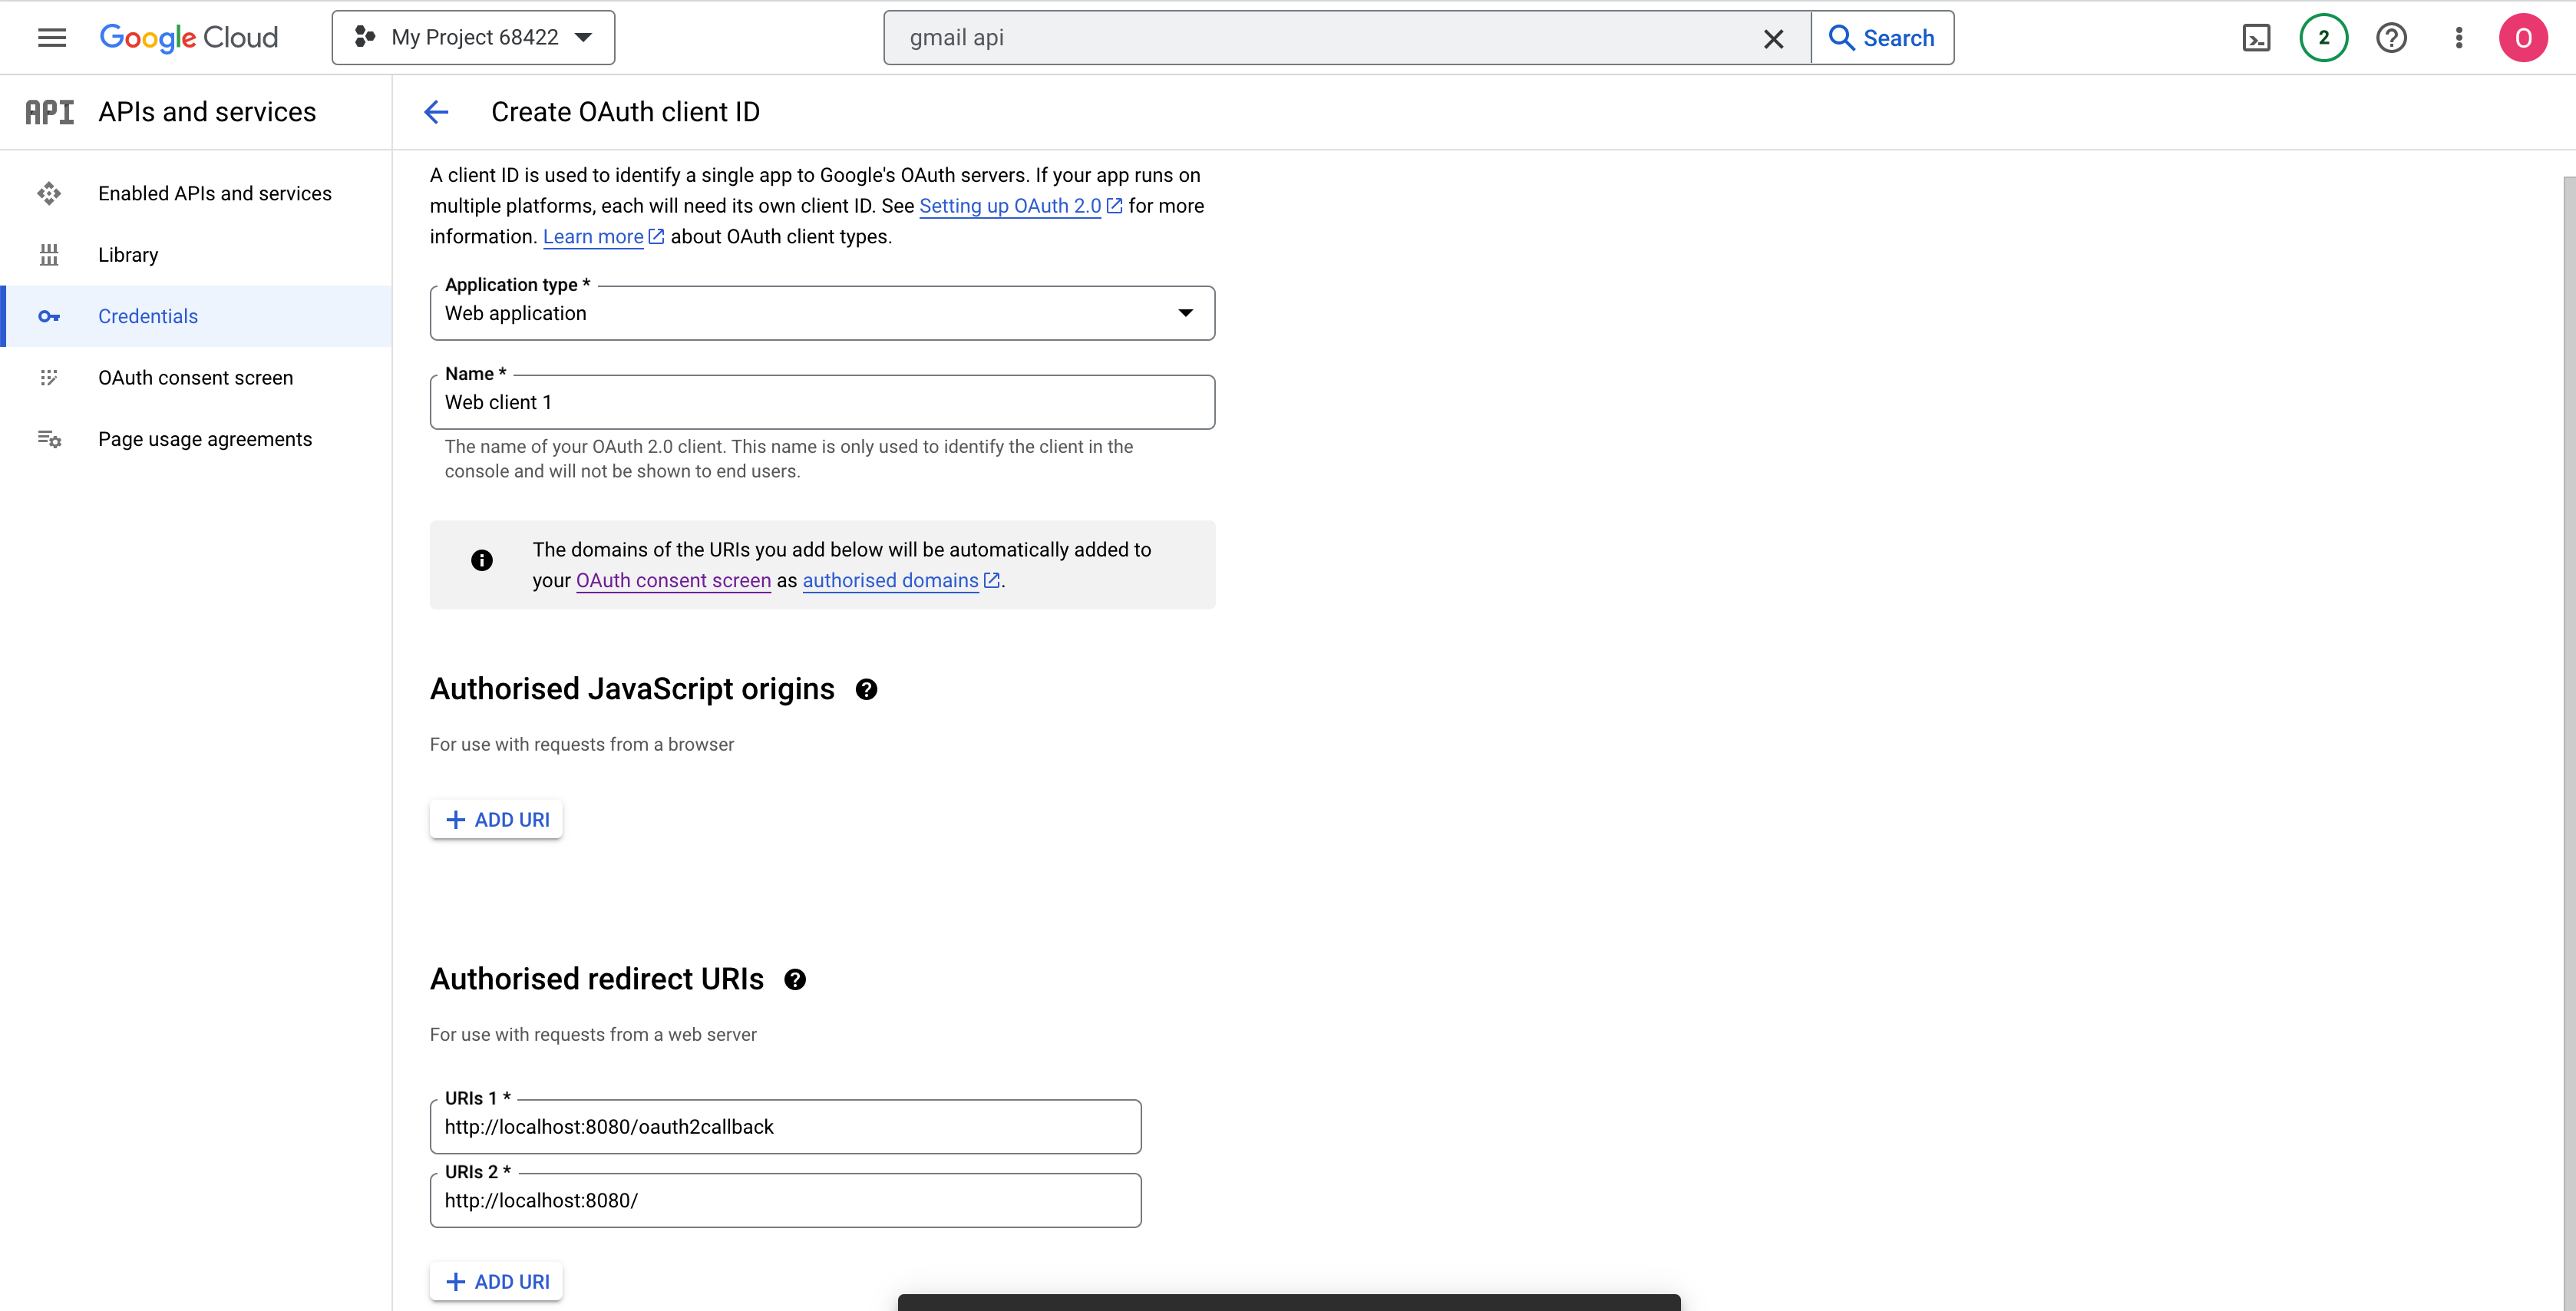
Click on create. A popup will come up with your client ID and secrets. Click on “Download JSON” and store the file in your app folder, in the secrets subfolder. Rename it to client_secret.json
In the secrets folder, open the flask_key.json file. This is a custom key used to identify your flask app. It’s not strictly needed, but it’s good practice to include one. Replace the empty string with a random string with the code below:
import os
os.urandom(12)
See this Stack Overflow thread for more details.
Create a new python environment
It’s now time to generate an access token to a specific Gmail inbox by running the app code locally.
It’s good practice to create a new python environment before you start developing. I use Anaconda to manage my Python installation. You can see instructions on creating a new environment here.
In your new python environment, start by installing the required libraries, by running the commands below. Open the main.py file.
Install these libraries via pip install if you’re not an Anaconda user.
conda install -c conda-forge google-auth
conda install -c conda-forge flask
conda install -c conda-forge google-api-core
Also install the required libraries via the requirements.txt file, by running the following command in your terminal:
pip install -r requirements.txt
Generate an Access Token
Now, run the app by clicking on the run button in the top right of the Vscode interface. You can also run your app with the following command :
flask --APP_LOCATION main run
You should now be able to view the app in your browser at the following address : localhost:8080. The homepage of the app looks like this.
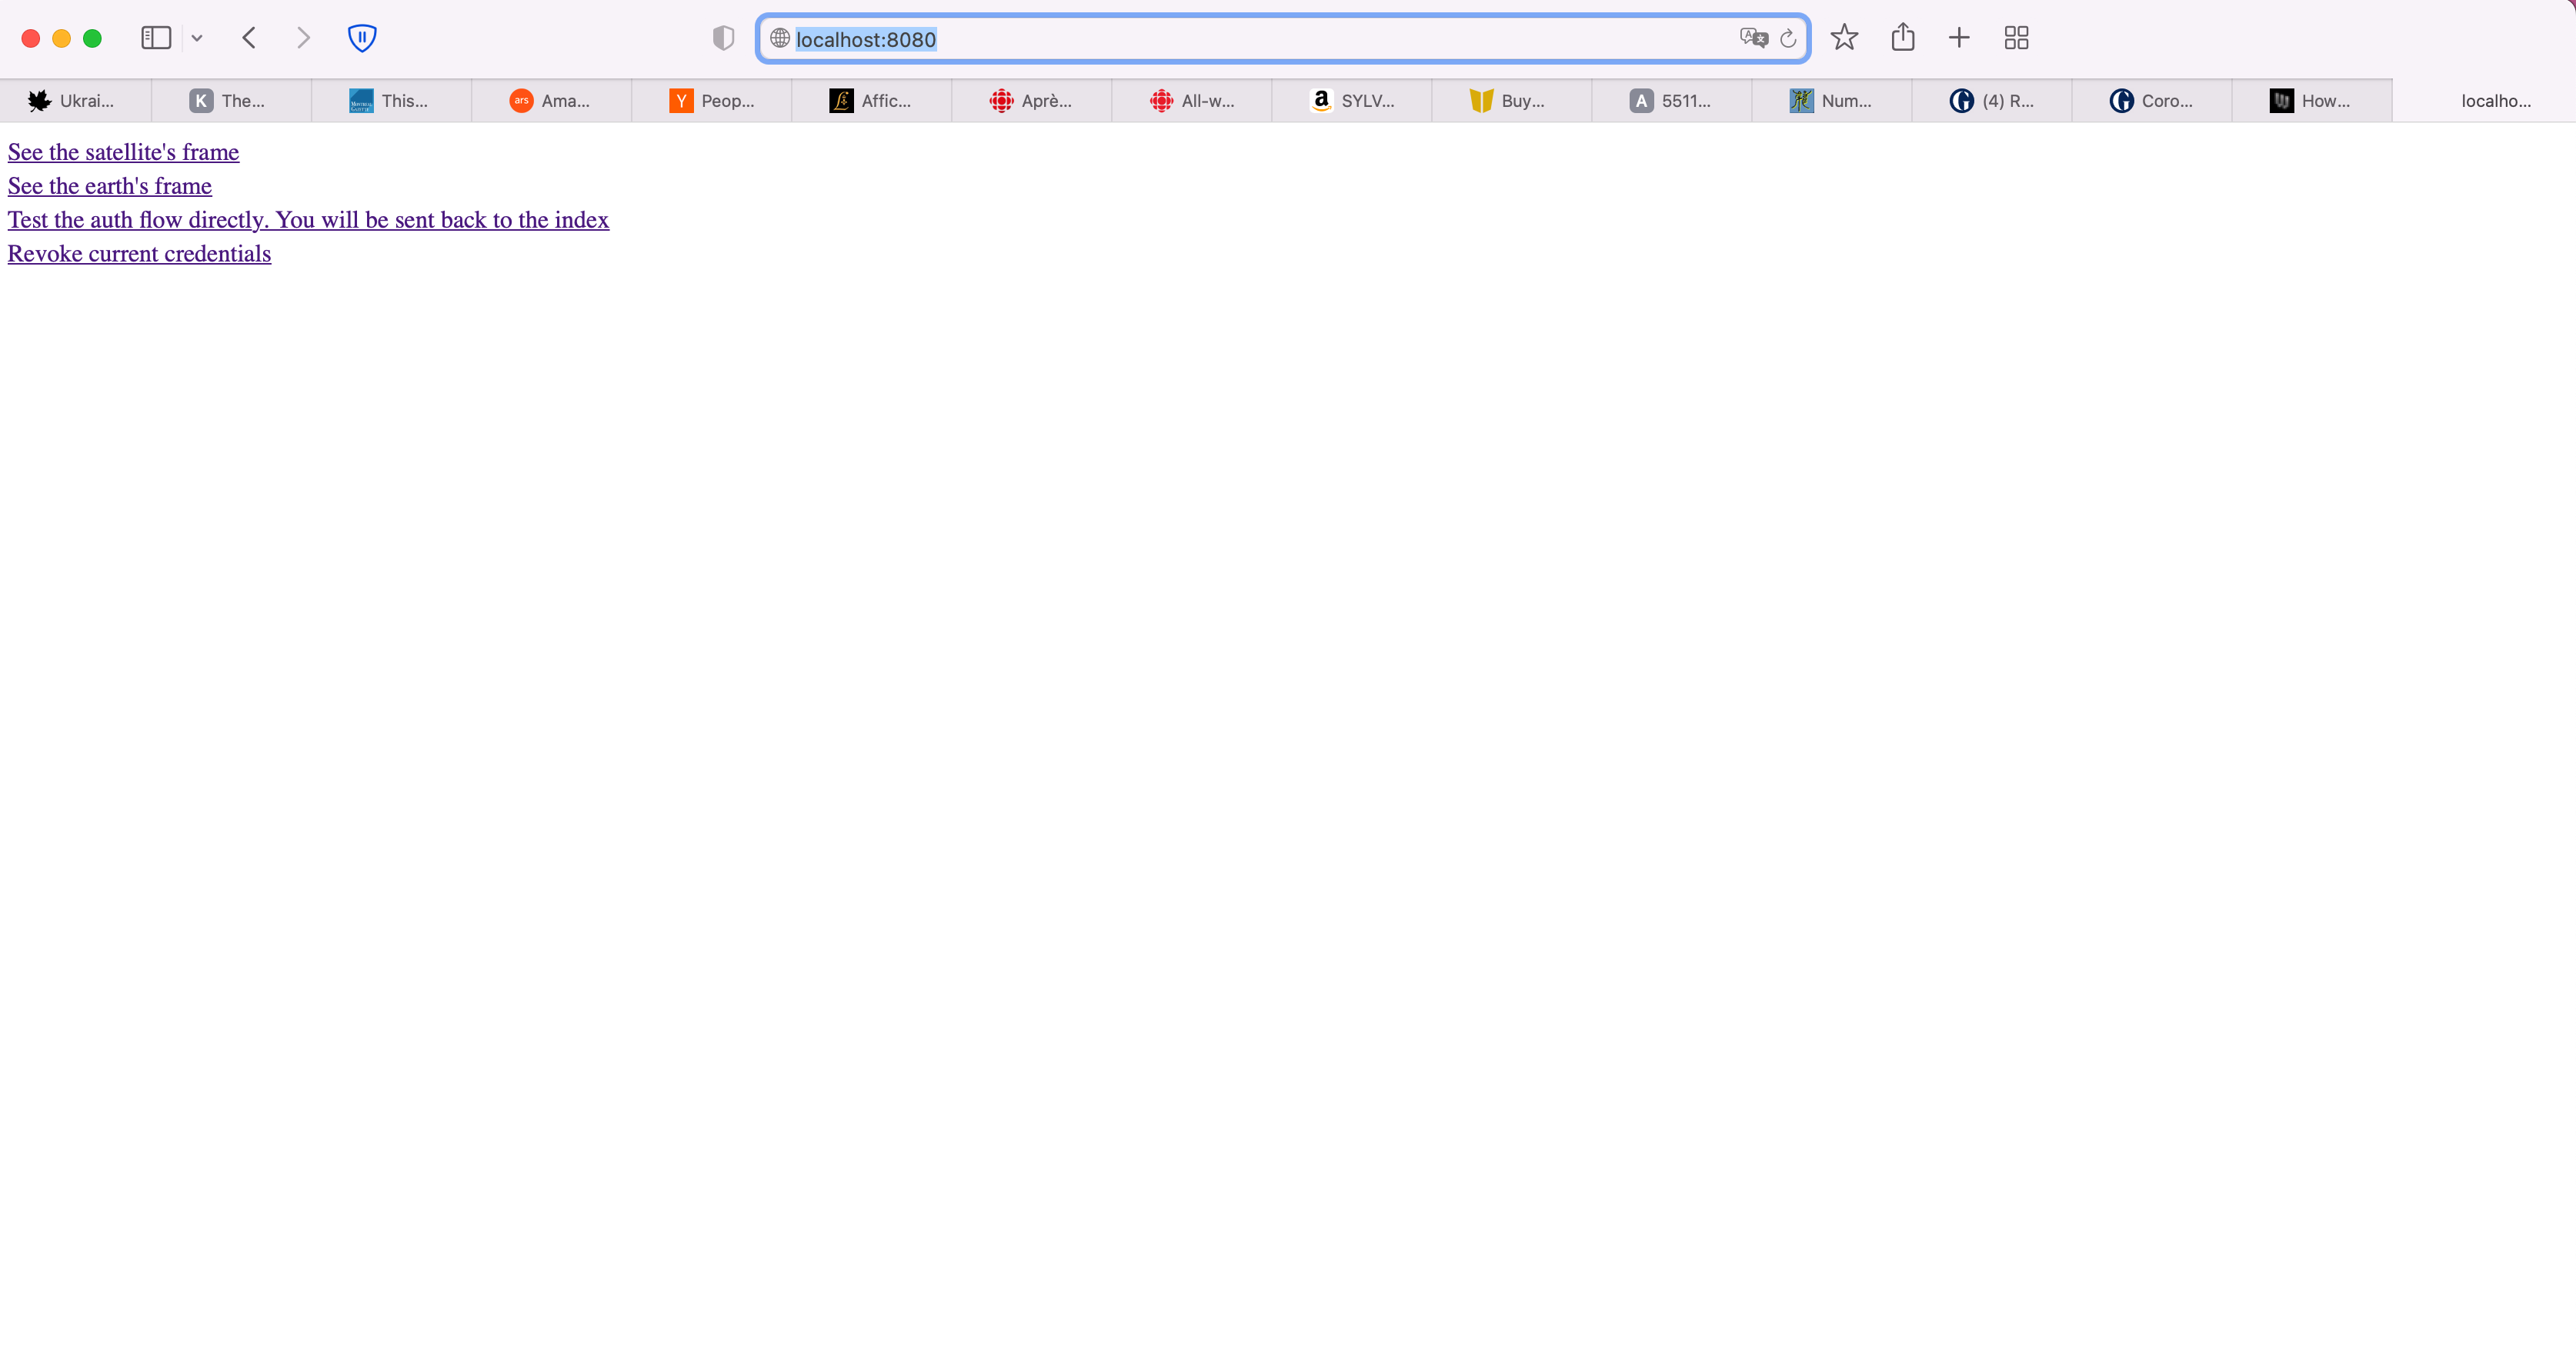
The first link displays the latest image received in the Gmail inbox intended for the satellite frame, while the second image displays the image intended for the earth frame.
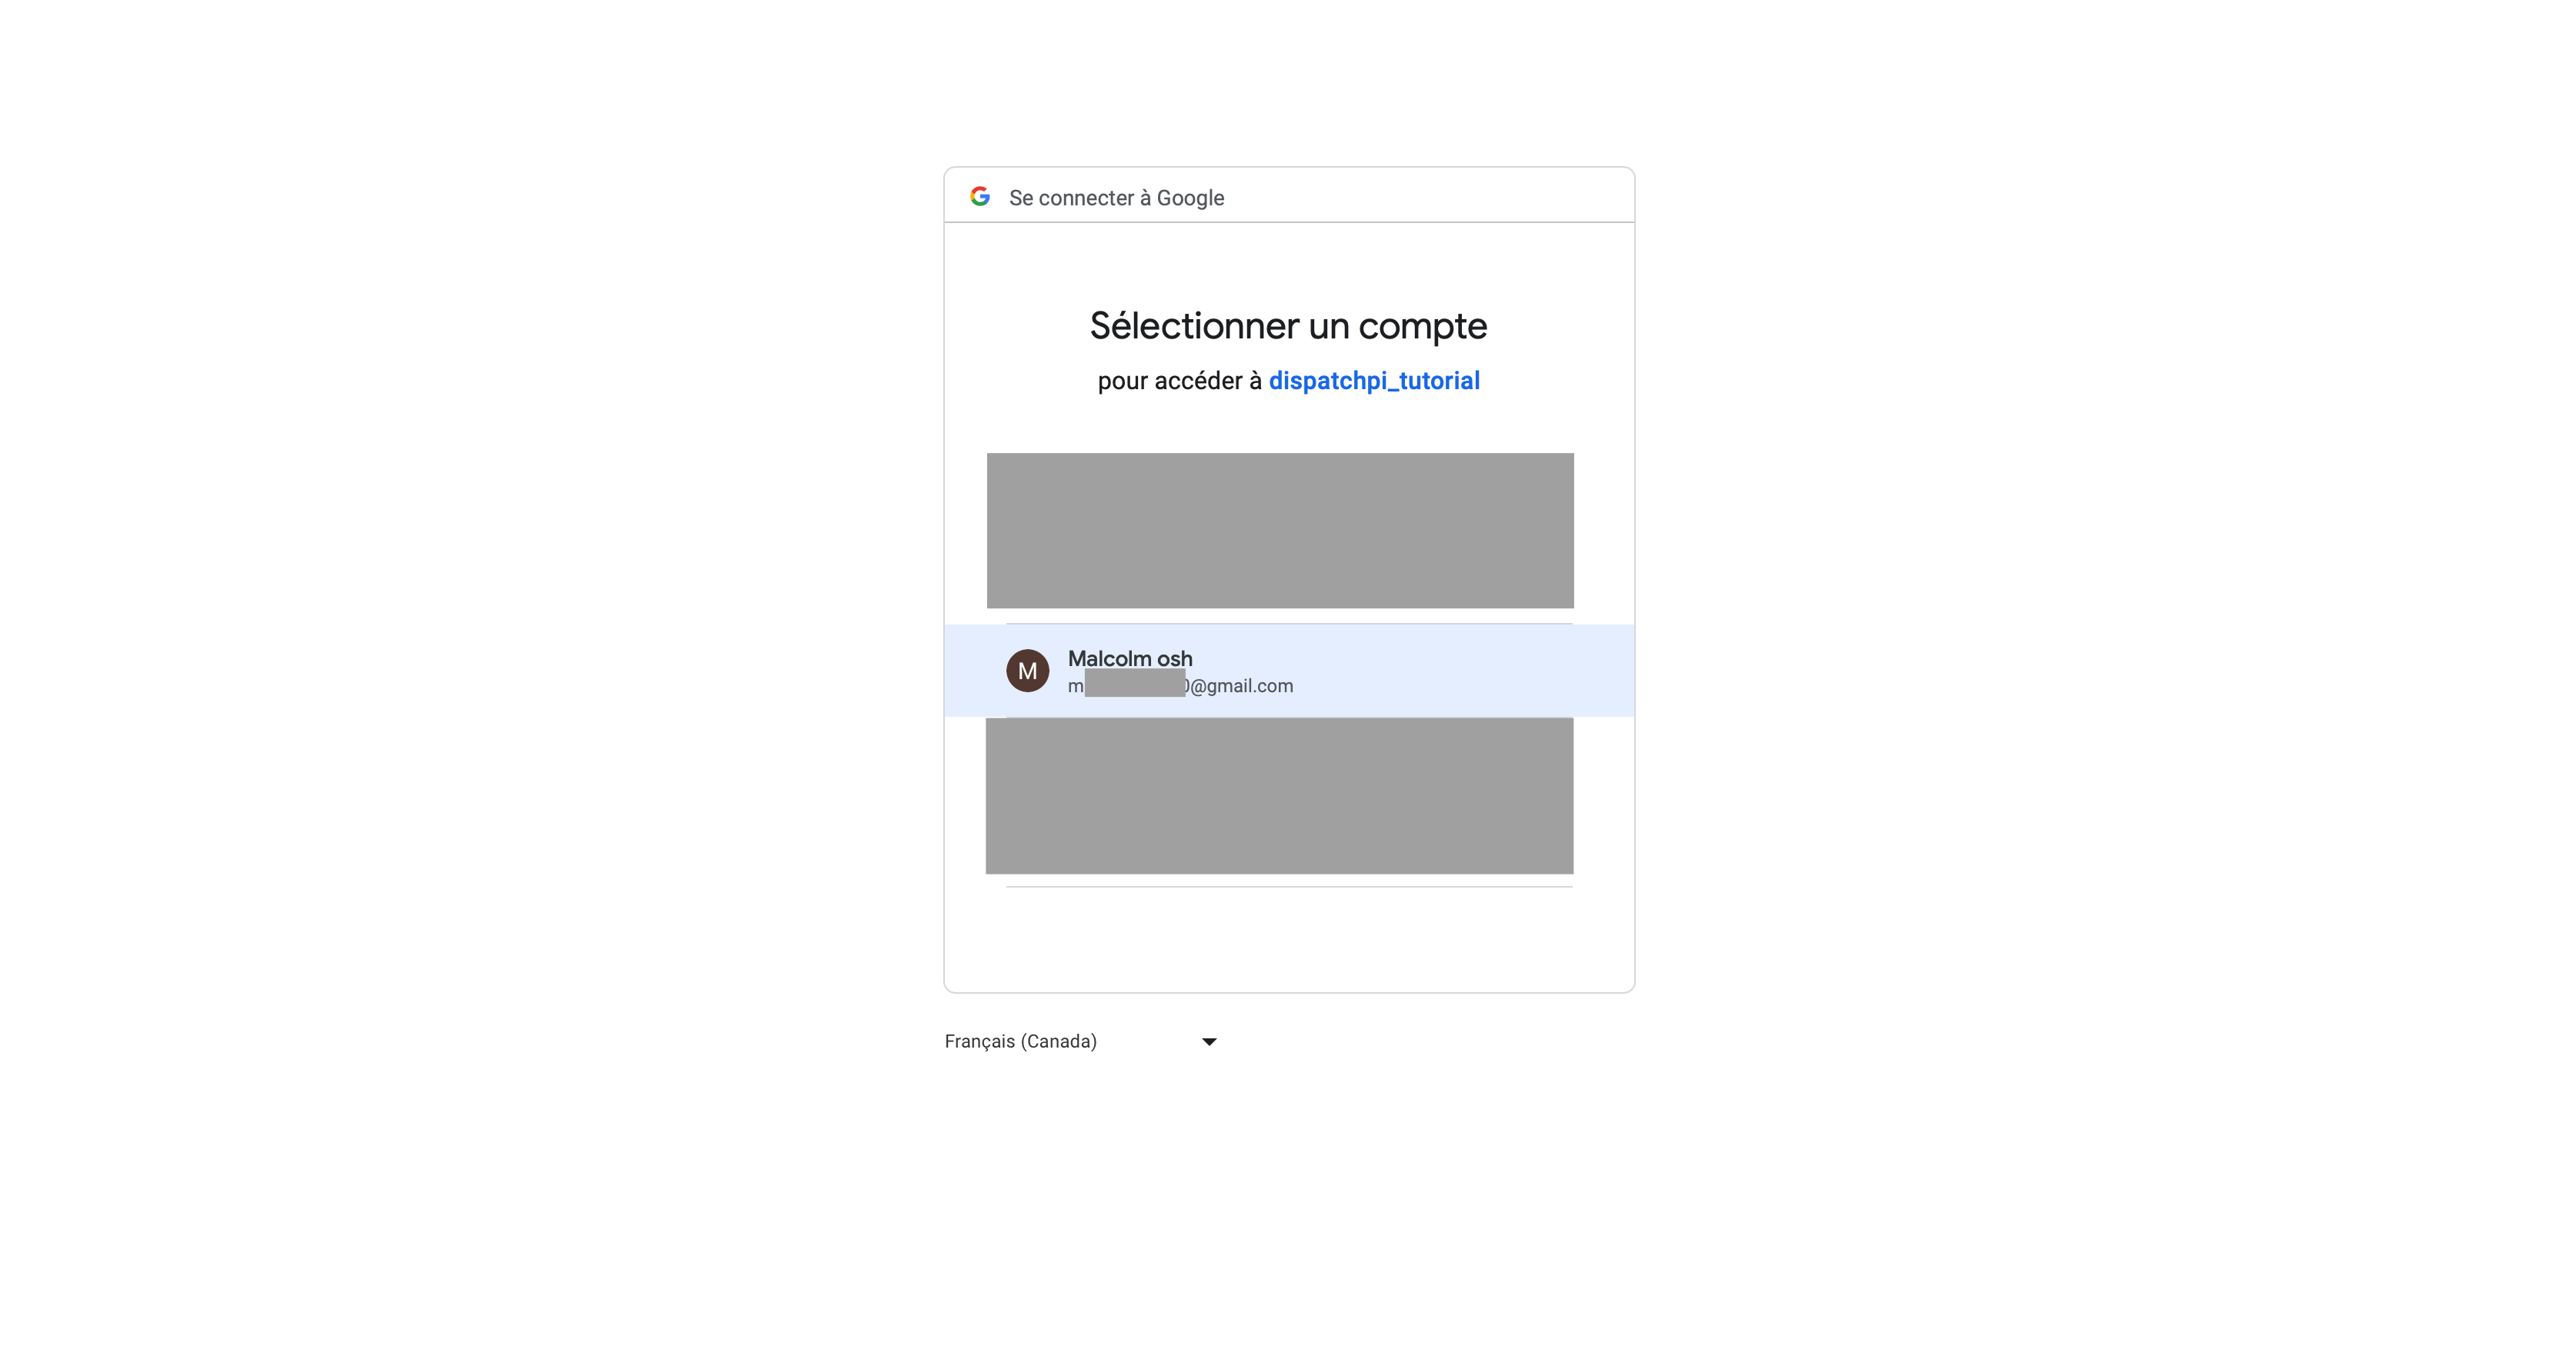
Click on “Test the auth flow directly” to connect your GCP app with a specific inbox. Select your new Gmail address in the list of accounts that comes up.
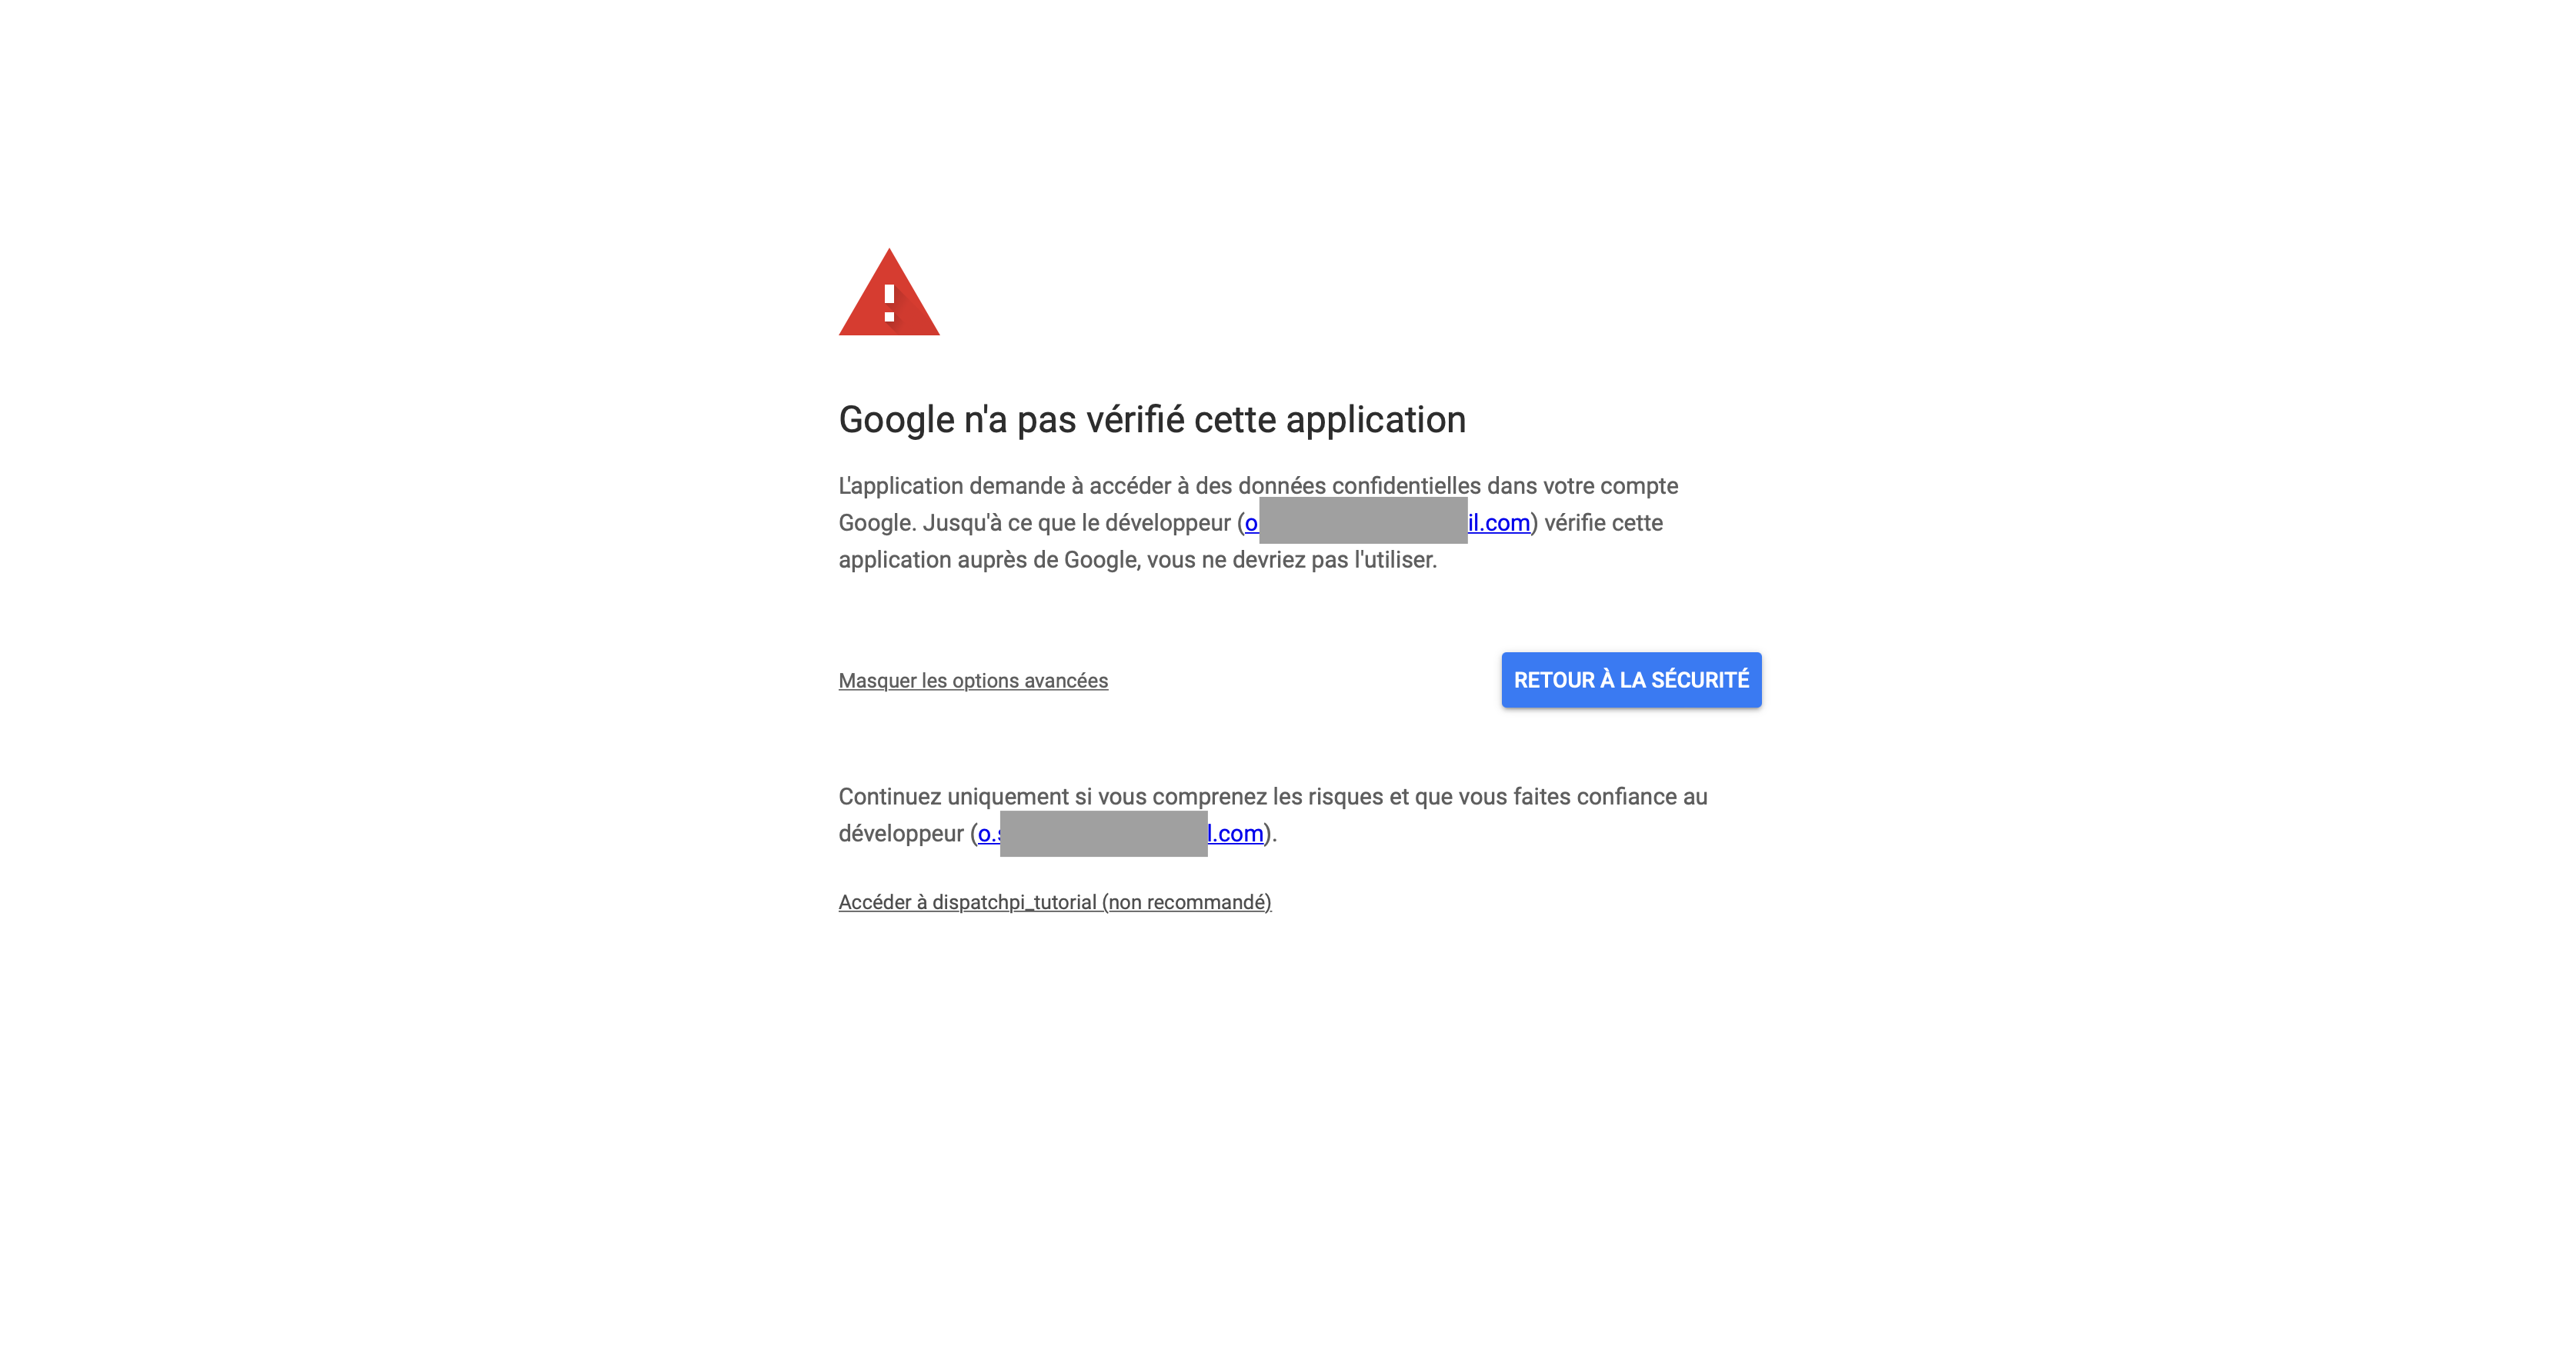
A warning screen comes up, explaining the app has not been verified by Google. Continue undeterred by clicking on “Access (APPLICATION_NAME)” in the bottom of the screen.
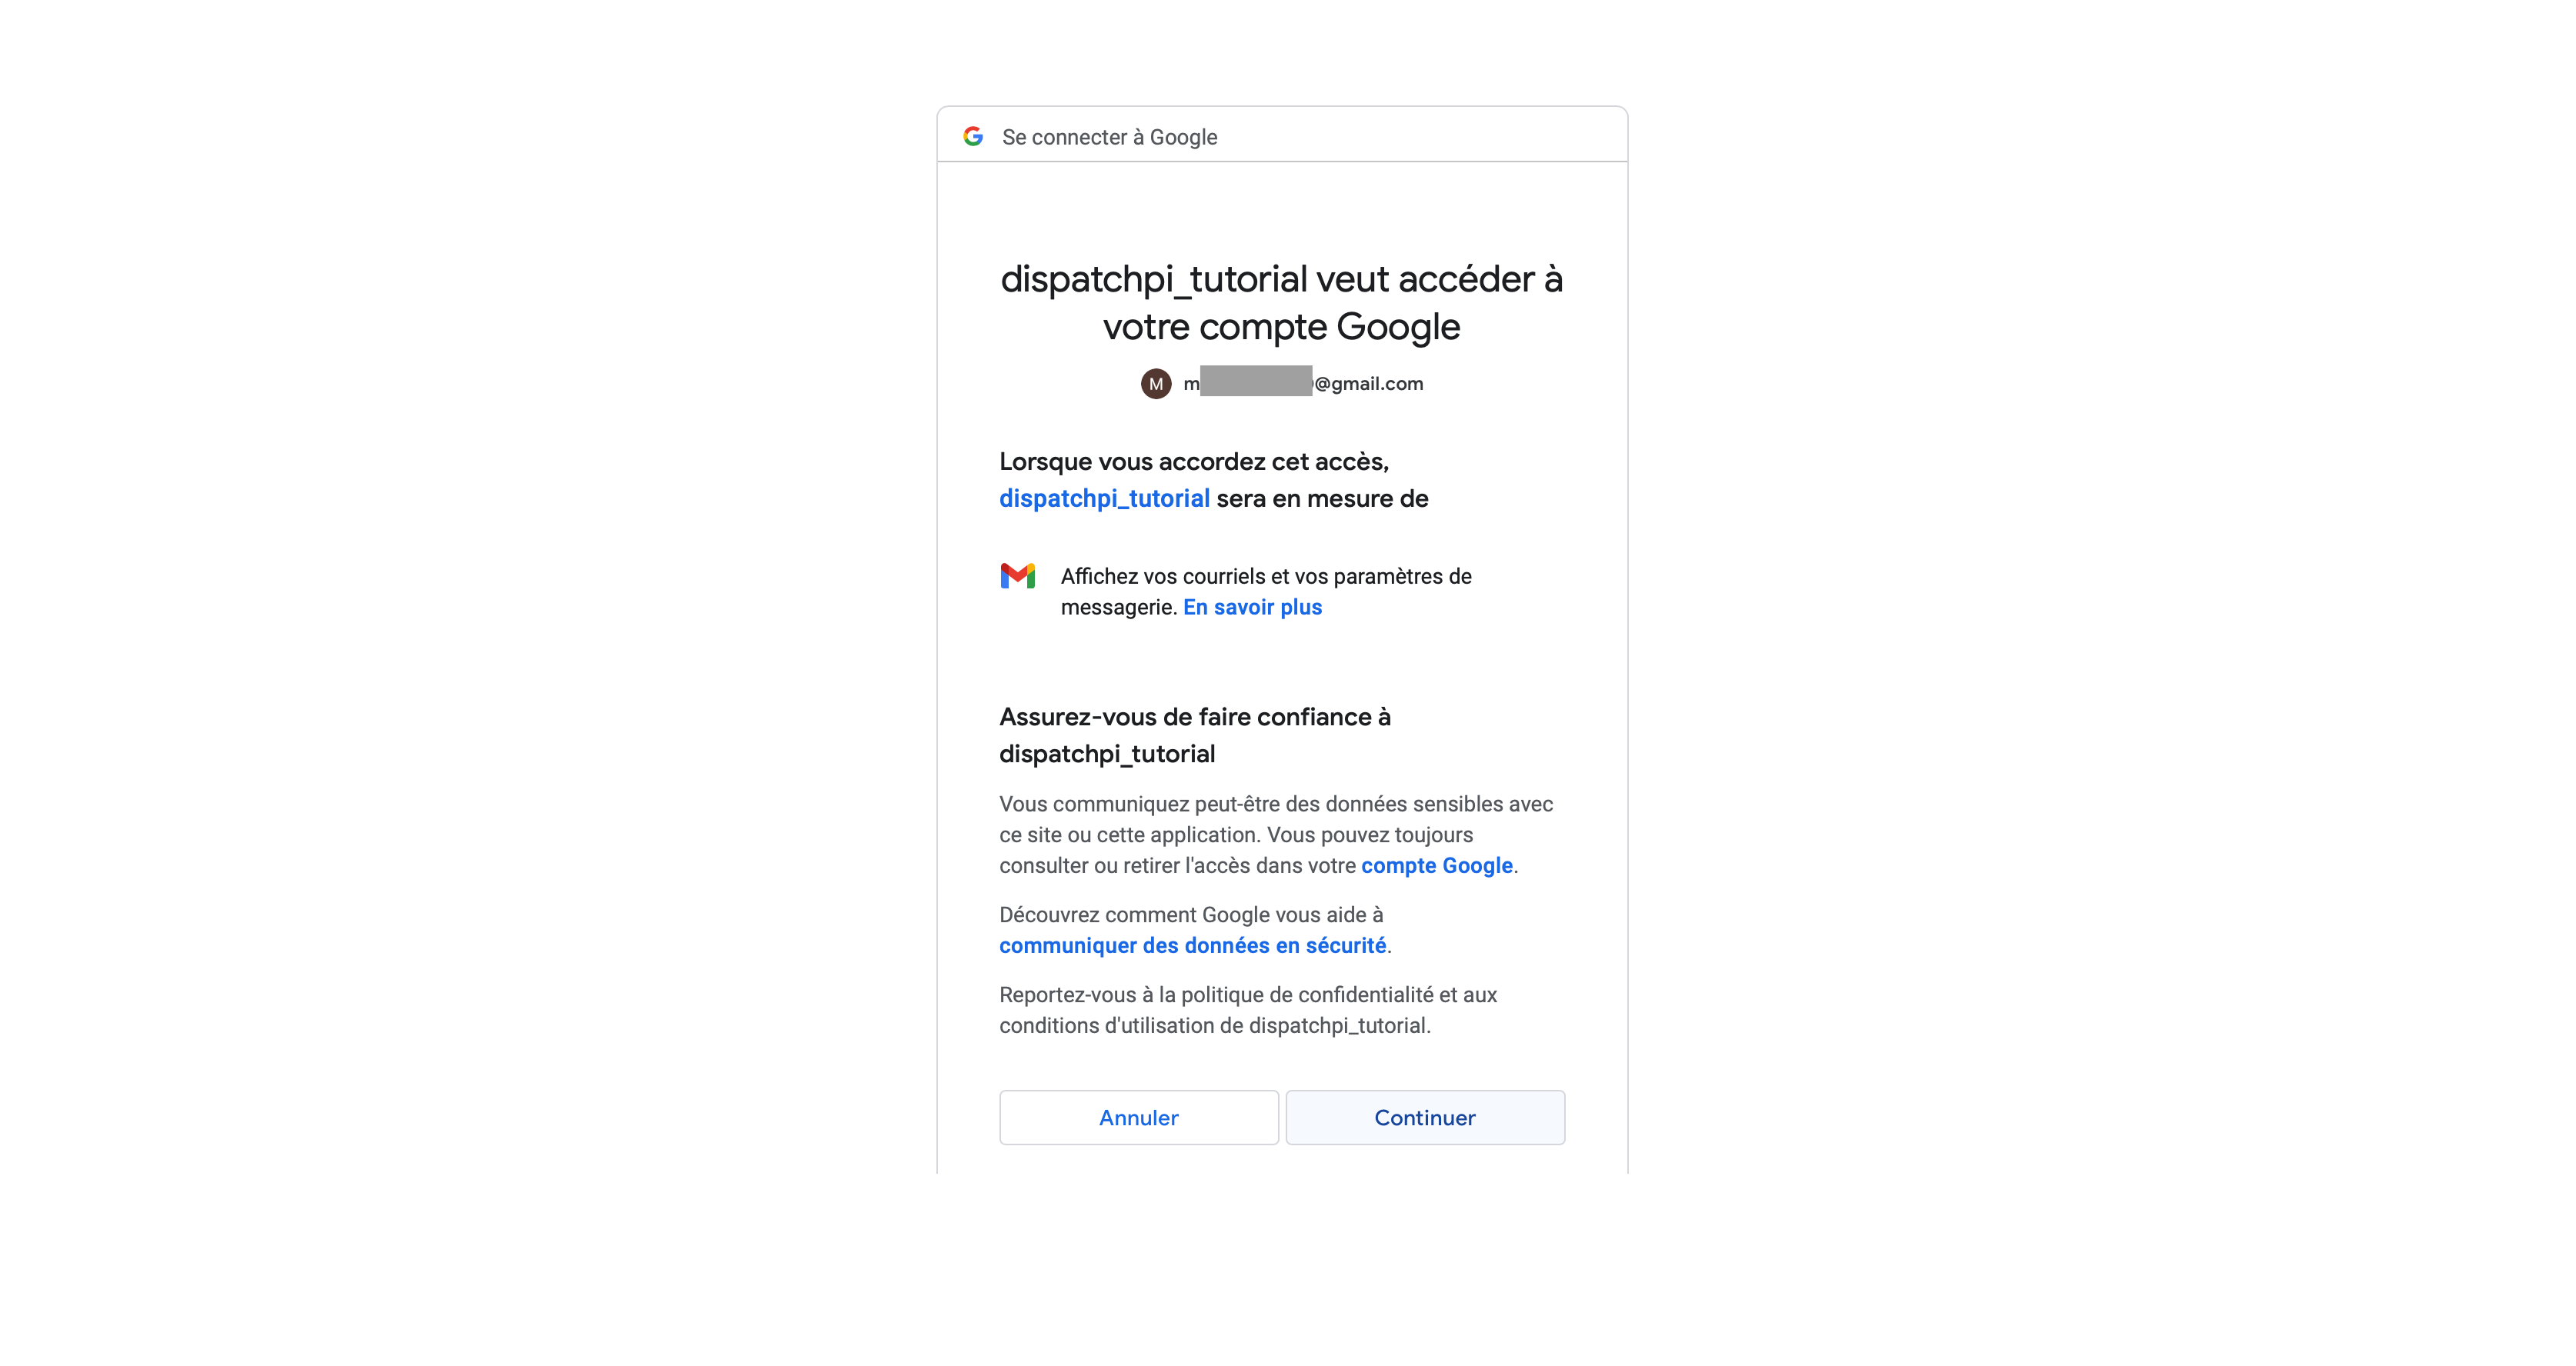
On the consent screen, accept the app’s terms and click confirm.
You will be redirected to the homepage of the app. You will notice a new token.json file has been created in your secrets folder. This token will allow the app to read images from your Gmail inbox, while the client_secret.json file we downloaded earlier instructs the app to use your GCP project credentials to call the Gmail API. Now that this authorization step is done, it will not be needed anymore. You may notice the token contains an expiry date : the app is able to refresh this token dynamically without requiring user intervention.
Your app should now work properly. Test this by clicking again on “Test the auth flow directly”. If all goes well, the index page should simply reload.
Before continuing further, you need to send some emails to the shared inbox. The app filters images shown to each frame. The satellite frame sees images from all senders except its own email address, while the earth frame will only display images from the satellite owner’s email. You need the app which email address(es) the satellite frame owner uses. This is specified in line 66 of the server/main.py file (satellite_emails).
Queueing images (new !!)
The app allows you to display images in the order they are received, at the rate of one image per calendar day (24 hours). This is accomplished through a “First-in, first-out” queue (or FiFo). The Gmail connector first lists all emails relevant for a specific frame, trims the list to the length of the queue, and then iterates over the list in reverse. The oldest image will be assigned the first place in the queue, whereas the last image will be given the last spot in the queue. As images are appended to the queue, they are given a display date. The frame will always display the last image received, even if the display date is in the past. The queues are generated in json files stored in a queues subfolder that is created dynamically when you execute the app.
If you would rather not use the queue feature, you can use the gmail_connector_no_queue.py script instead. Just be sure to call the class properly, as it takes slightly different options on initialization.
Test the app
Send two emails with image attachments to the shared Gmail inbox. One from any email address whatsoever, and the other from the email you just added on line 69 of the file. Try adding text in the body: the frame will draw your text onto the image! Wait a minute for all emails to be received in the inbox.
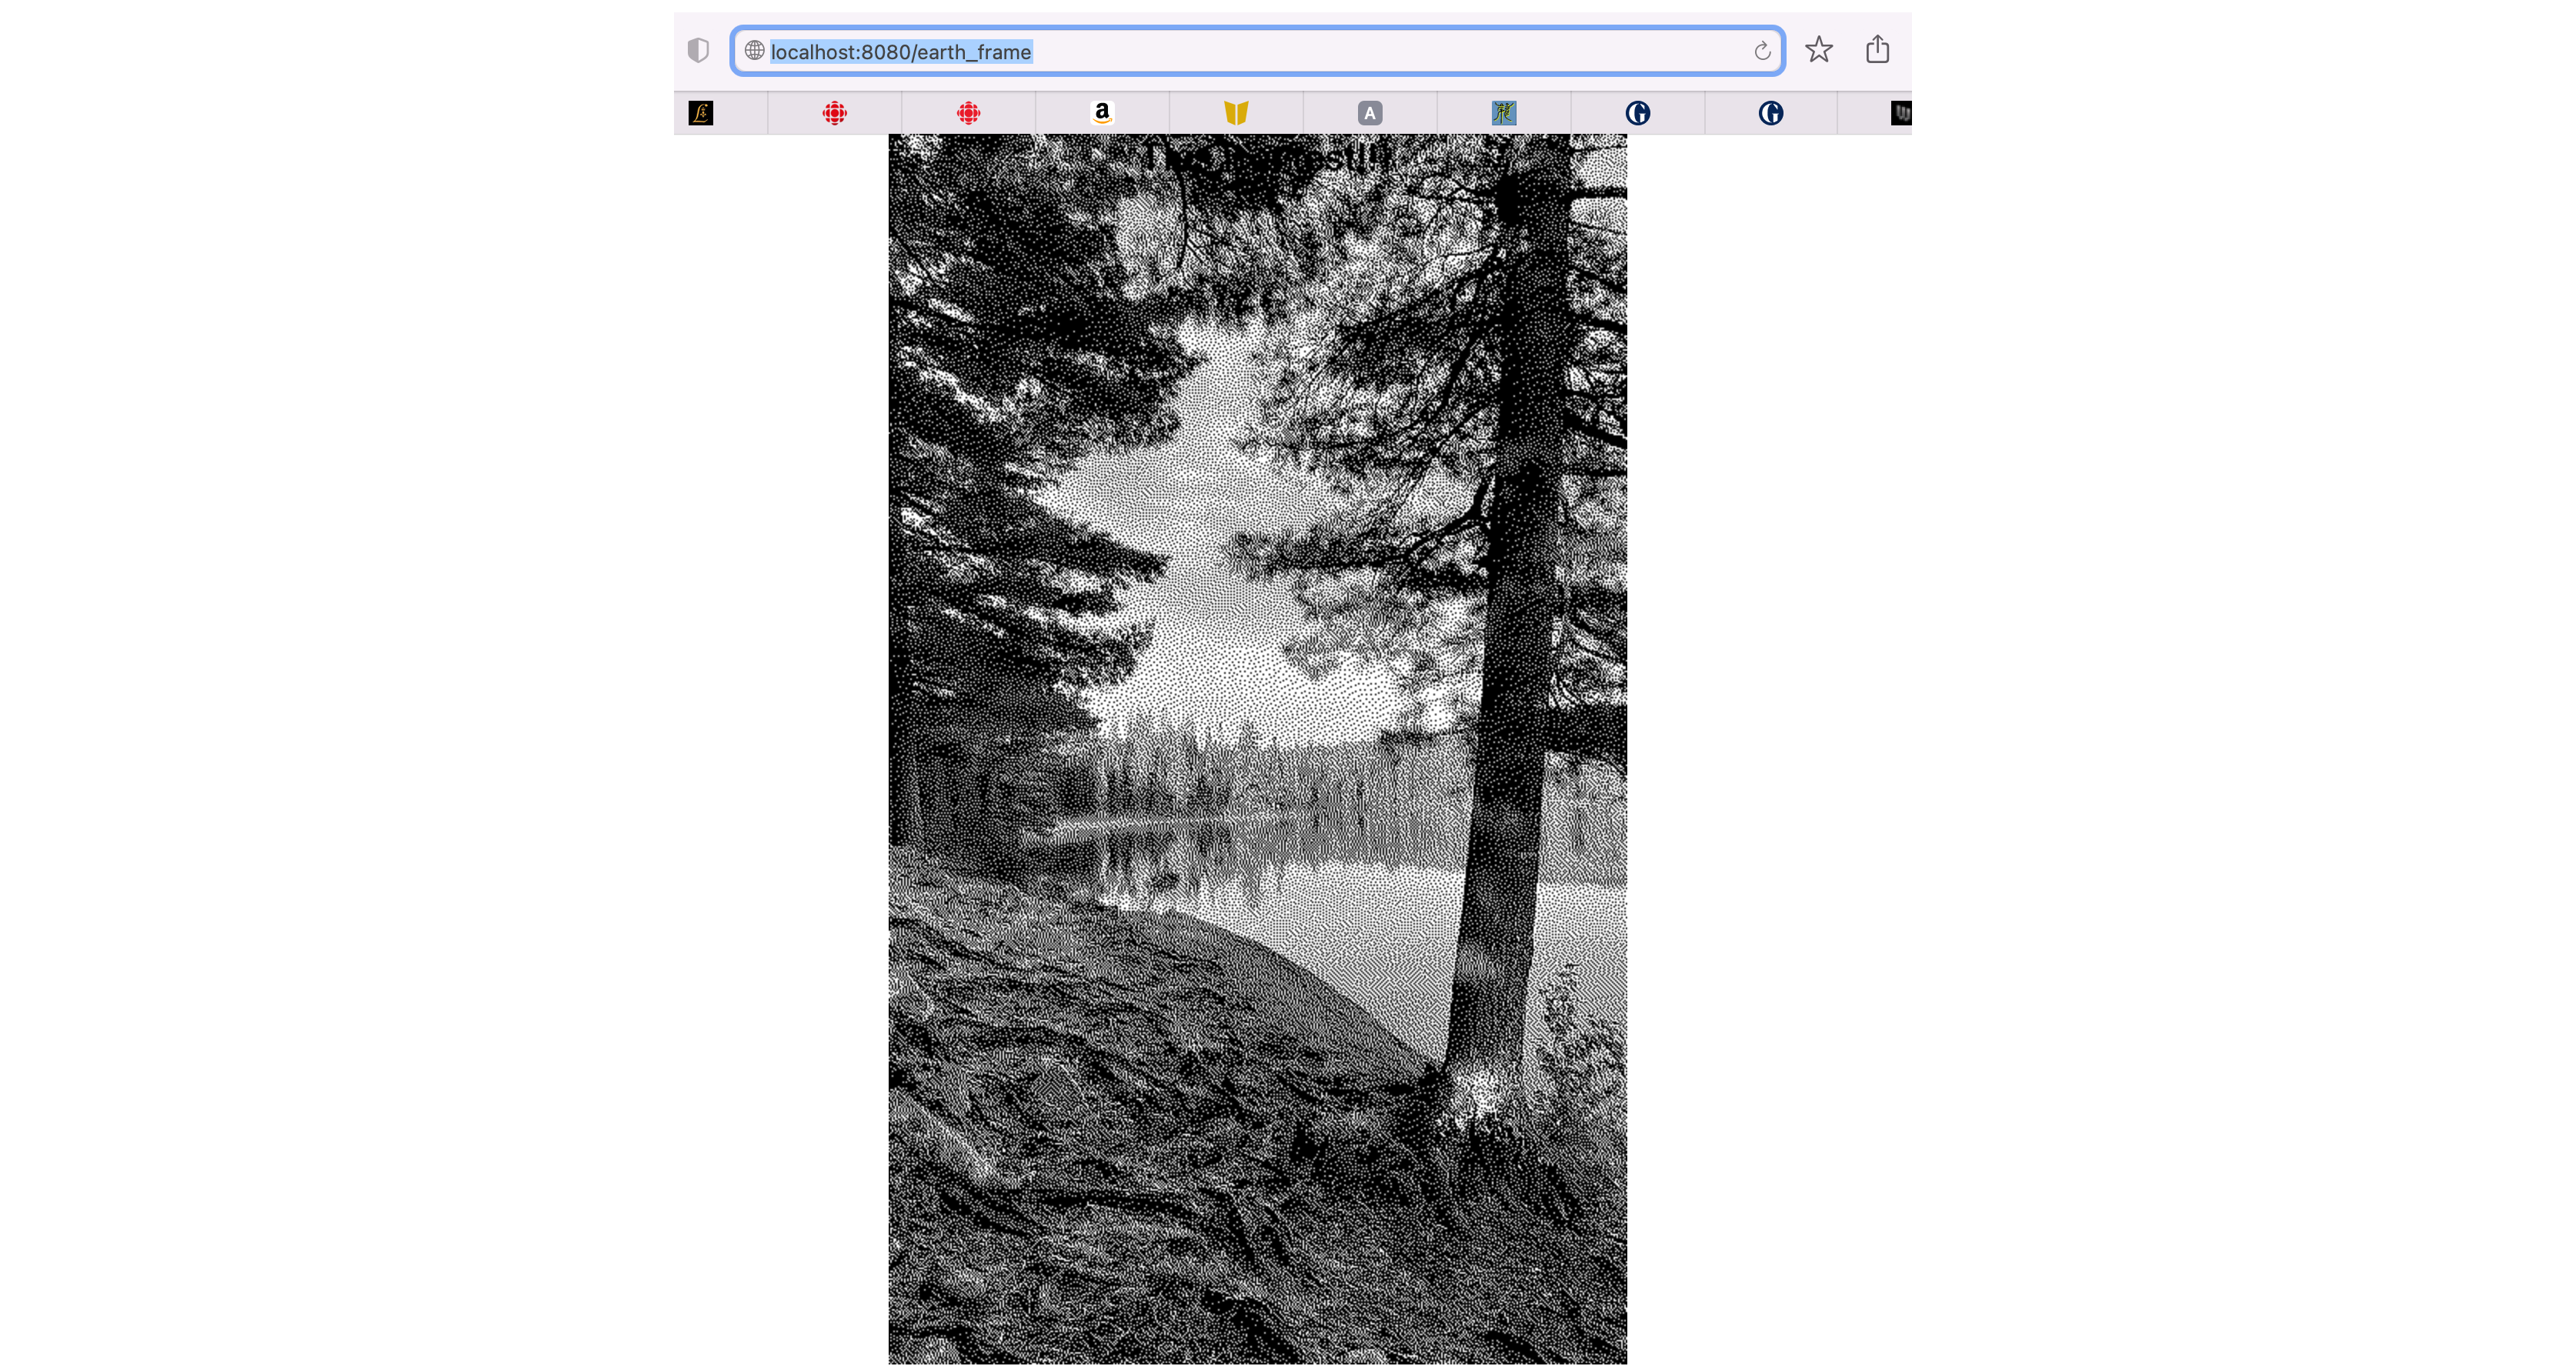
You can now test the app’s ability to pickup images for both the satellite frame and the earth frame. With the app still running, click on the first two links to check everything works properly. If everything works, you should be a rasterized image like this. Note that on dark backgrounds, the black superimposed email body text could be somewhat hidden. A future app version may include white text!
Your app now works locally. It’s time to upload it to the cloud!